How-to
How to cane a curved or round seat with pressed cane
Pressed cane on round bentwood seats and curved chair backs: cutting the sheet, wedging from the center, soaking and keeping the weave straight.
Updated
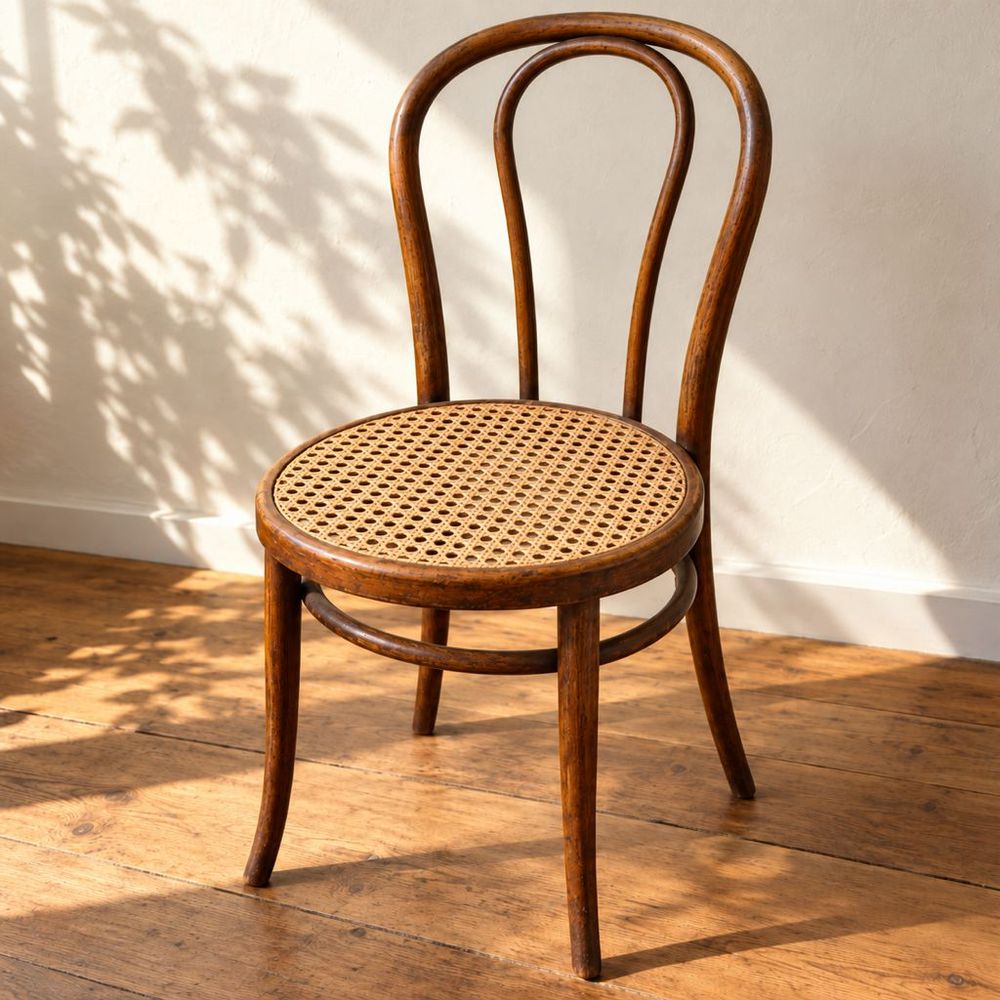
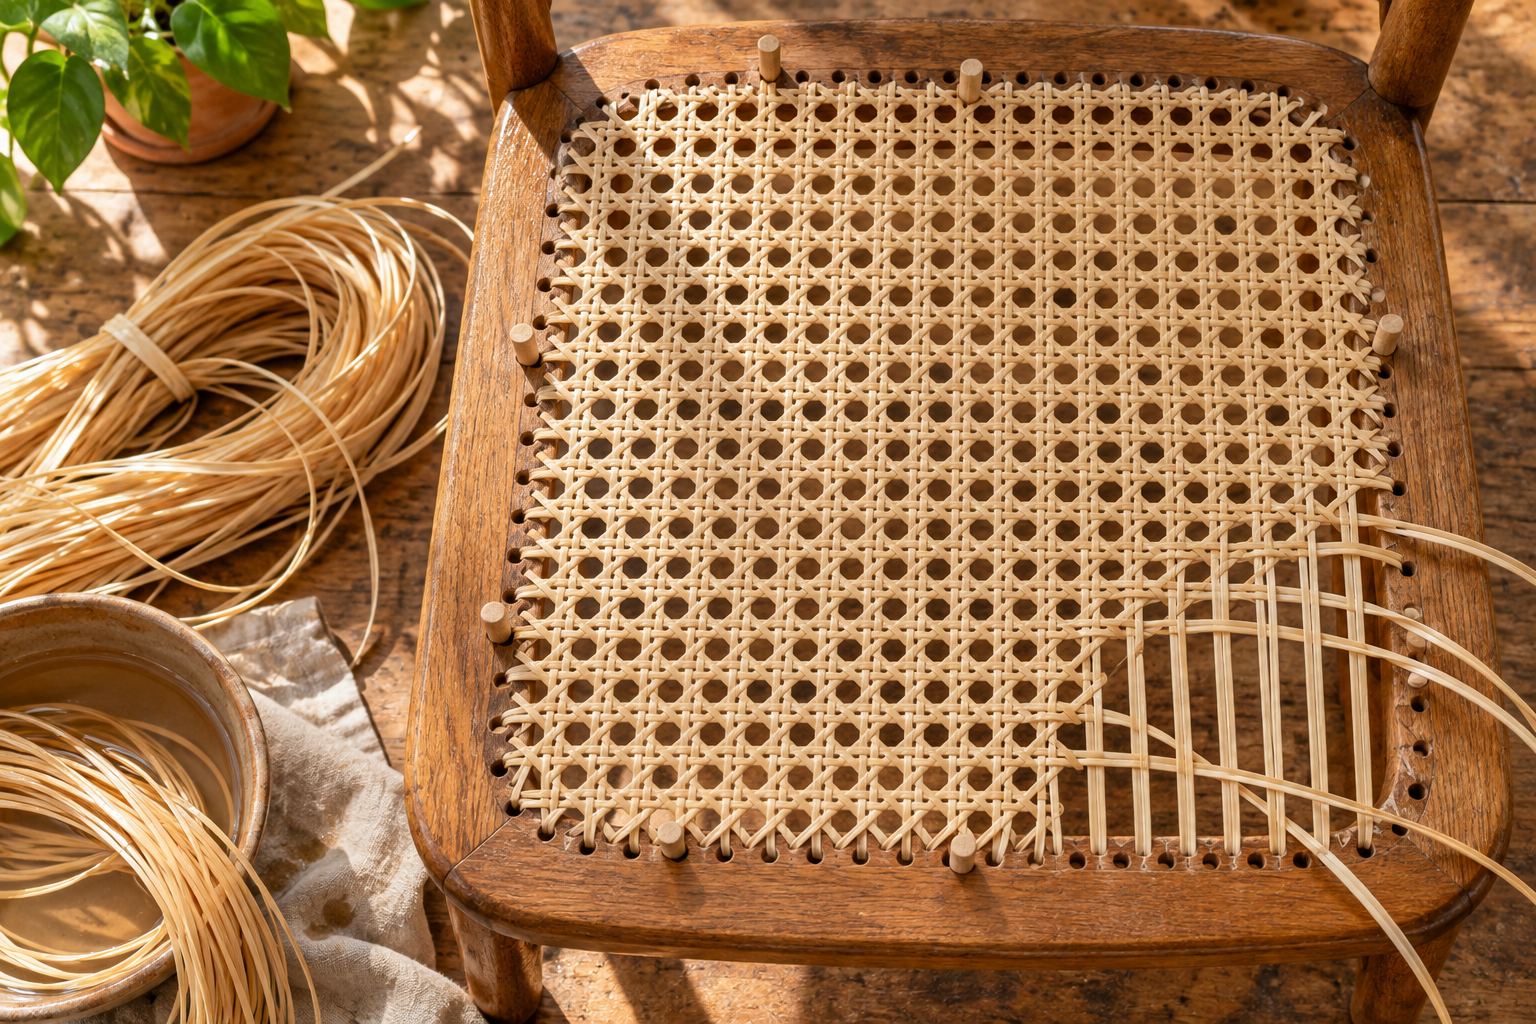
Pressed cane goes into a round or curved frame the same way it goes into a square one: soak a sheet of cane webbing, press it into the groove with wedges, glue in reed spline and let it dry. What changes is the order and the care: mark the centers so the weave stays straight, wedge opposite points first and work outward in small steps, keep the cane wet the whole time, and bend the spline round gently.
Everything you need is on the replace a pressed cane seat project page, and the basics of the job are in how to replace a pressed cane seat. This guide covers what is different on round bentwood seats and on curved backs, such as those on cantilever chairs.
What you need
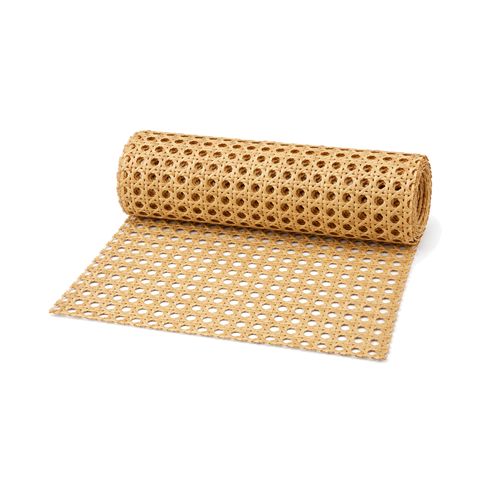
- Open weave cane webbing, or a flat precut cane sheet for a small round seat
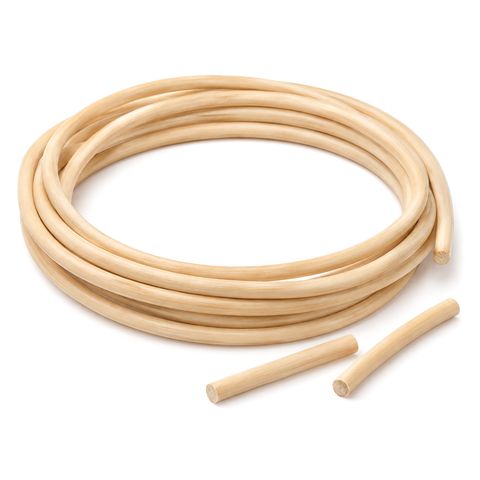
- Reed spline in your groove size
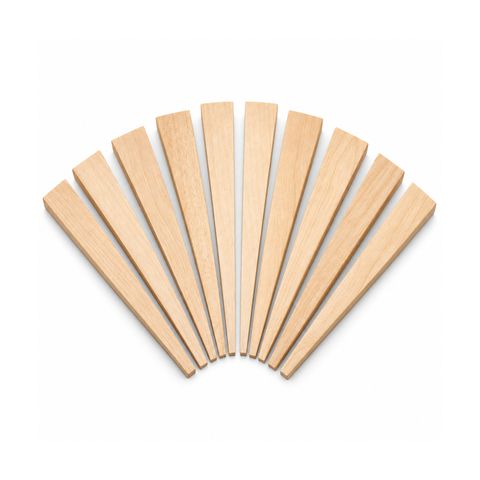
- 4 to 8 hardwood caning wedges
- Wood glue
- A caning chisel to remove the old spline
- A mallet, a utility knife with a fresh blade, and a spray bottle of warm water
- A pencil or masking tape, a flexible tape measure and a piece of string
If the old seat is still in, take it out first; see how to remove old spline and cane. Clean the groove and measure its width before you order spline.
Measuring a curved seat
Round seats. Measure across the outer edges of the groove in two directions and use the larger number. Add 2 in and cut a square that size. For example, a seat 15 in across needs a 17 in square.
Curved backs and curved seats. Measure along the surface, not straight across. A curved back is wider around its curve than a ruler laid across it shows. Run a flexible tape or a string along the face from the outer edge of the groove on one side to the outer edge on the other, at the widest point, then add 2 in. Measure the height the same way.
Spline. Lay a string in the groove all the way round, straighten it, measure it and add 6 in. As a rough check, the distance around a circle is a little more than three times the distance across it, so a 6 ft coil (72 in) covers a round groove up to about 21 in across, with the 6 in to spare.
Step 1: Mark the centers
A round seat has no straight rail to tell you where straight is, so make your own reference marks. Put a small pencil mark or a piece of tape at the center of the front, the center of the back and the center of each side, right at the groove. On a curved back, mark the center of the top and bottom rails.
Step 2: Cut the sheet
Lay the webbing flat, shiny side up, and cut it to size along straight rows. For a round seat, cut the square, then trim off the corners so the sheet roughly follows the circle with about 1 in to spare past the groove; loose corners only get in the way of the wedges. Mark the front edge with tape.
Step 3: Soak, and keep it wet
Tight curves first. If the groove has tight curves, shape the spline before the cane goes in. Soak it, press it into the empty groove without glue so it takes the curve, and let it dry partly. Lift it out and set it aside. A spline that already has the shape is less likely to crack or spring up later.
Then the cane. Soak the cane in warm water for about 30 minutes, weighted down, and put the spline in for the last 10 to 15 minutes if you have not pre-shaped it. Before you start, bend a corner of the sheet. On a curve, cane that is still springy fights the shape and cracks where it bends into the groove. If it does not lie limp, give it more time and test again. More on soaking is in how to soak cane and reed.
Keep the spray bottle in reach: a curved seat takes longer to wedge, and cane that dries mid-job snaps.
Step 4: Square the weave and wedge the four centers
- Lay the cane over the seat, shiny side up, with even overhang all round.
- Line up one straight row of the weave with your front and back marks, so it runs straight front to back through the middle of the seat.
- Wedge the cane into the groove at the center of the back. Leave the wedge in.
- Pull the cane gently toward you, snug but not stretched, and wedge the center of the front.
- Wedge the center of each side.
- Step back and look from the front. The center row should run straight from mark to mark. If it does not, lift a wedge and correct it now; once the spline is in, it is too late.
Step 5: Work outward, opposite side to opposite side
Like tightening the nuts on a wheel, work in opposite pairs so the weave cannot drift one way.
- Push the cane into the groove a few inches to one side of the back center, then the same distance on the front, opposite it.
- Do the same on the sides.
- Keep going round in small steps, moving the wedges as you go and always answering one side with the other.
- Go round two or three times, pushing a little deeper each pass, until the cane sits at the bottom of the groove all the way round.
On a round seat, the rows meet the groove at every angle as you go round. That is normal. What matters is that the center rows stay straight.
Step 6: Curved backs
A back that curves around your shoulders, as on many bentwood and cantilever chairs, needs a slightly different hand.
- Take the frame off if you can. Many cantilever chair backs and seats are separate frames held by screws or clips. Caning a frame flat on a bench is far easier than caning it on the chair.
- Tension top to bottom, not side to side. Pull the cane snug between the top and bottom rails. Across the curve, ease it into the side grooves without pulling. Stretched hard side to side, the cane wants to flatten across the middle instead of following the curve.
- Wedge in short sections. On a curve, a wedge only bears on a short stretch of groove. Tip it to follow the curve, and move it along more often.
- Check the verticals. Keep the strands that run top to bottom parallel to the side rails. Look at it from the front with the chair upright before you glue anything.
Step 7: Trim, glue and spline
Trim the overhang just below the top outer edge of the groove and run a thin bead of wood glue into the groove, as for any pressed seat. The spline goes in as one piece: start at the center of the back, tap it in a few inches at a time with a wedge under the mallet, bend it round with the groove, and join the ends at the back with matching angled cuts.
Step 8: Let it dry
Wipe off squeeze-out right away with a damp cloth. Leave the piece overnight at room temperature, away from heat and sun, and give it a full 24 hours before anyone sits on it or leans back against it. The cane will look slack while wet and tighten as it dries.
When replacing the frame is easier
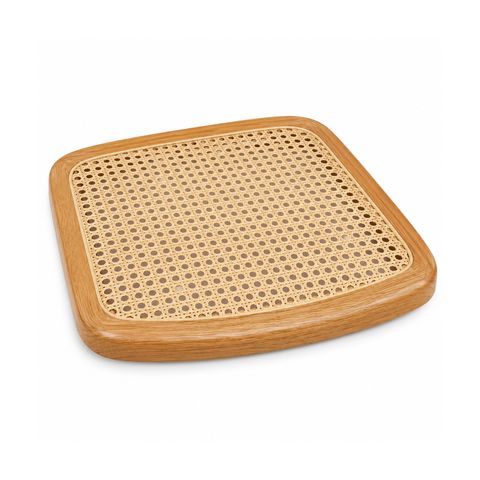
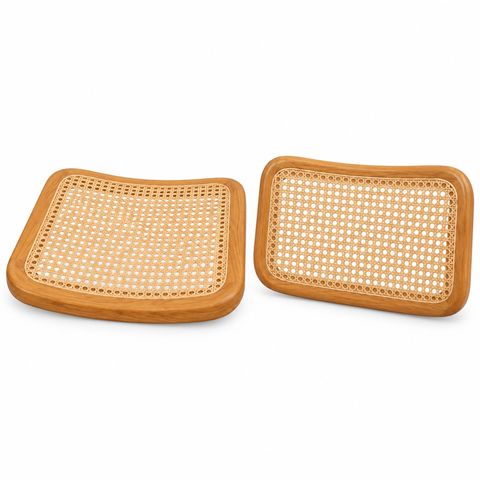
On a B32-style tubular steel cantilever chair, the seat and back are bentwood frames with cane pressed in. If a frame is cracked, or you would rather not cane at all, a ready-made replacement cane seat for cantilever chairs screws onto the steel tube, usually with four screws from below. The cantilever chair seat and back set replaces both so they match. Frames differ between makers, so measure yours and check the screw positions before you order. Sound frames can be recaned as above.
Common mistakes
- No center marks. Without a straight rail to follow, the weave drifts.
- Measuring a curved back straight across. The sheet comes out too narrow.
- Letting the cane dry mid-job. It cracks where it bends into the groove.
- Forcing dry spline round a tight curve. Soak it and pre-shape it.
- Pulling a curved back tight side to side. The middle flattens.
Ready to start? The replace a pressed cane seat project page lists everything for the job. Find cane in cane webbing, and framed replacement seats in chair repair and upholstery.
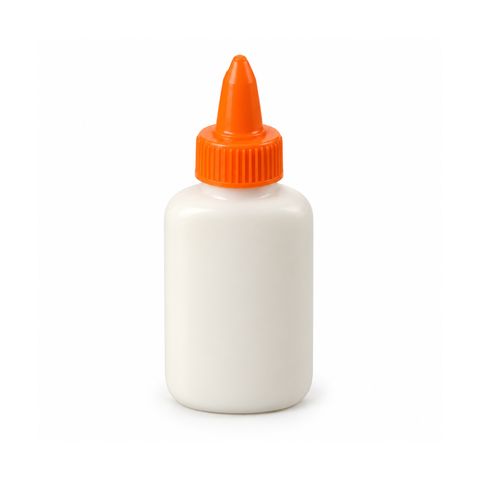 Wood Glue for Caning
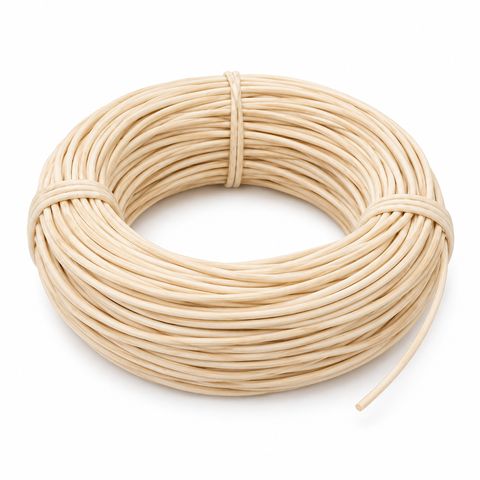 Round Reed for Basket Weaving