How-to
How to wrap chair legs and joints with binder cane
Rewrap loose cane wraps on rattan and bentwood furniture: remove the old wrap, soak binder cane, start and finish the wrap, and choose nails or glue.
Updated
To fix a loose wrap on a rattan or bentwood leg or joint, unwind the old wrap, glue the joint if it moves, and rewrap with binder cane soaked for 15 minutes in warm water. Trap the start under the first turns or fix it with a small nail on the hidden side, lay every turn snug against the last, and finish by tucking the end under the last turns. Let it dry overnight. The cane shrinks tight as it dries.
Everything you need is on the repair wicker furniture project page.
What you need
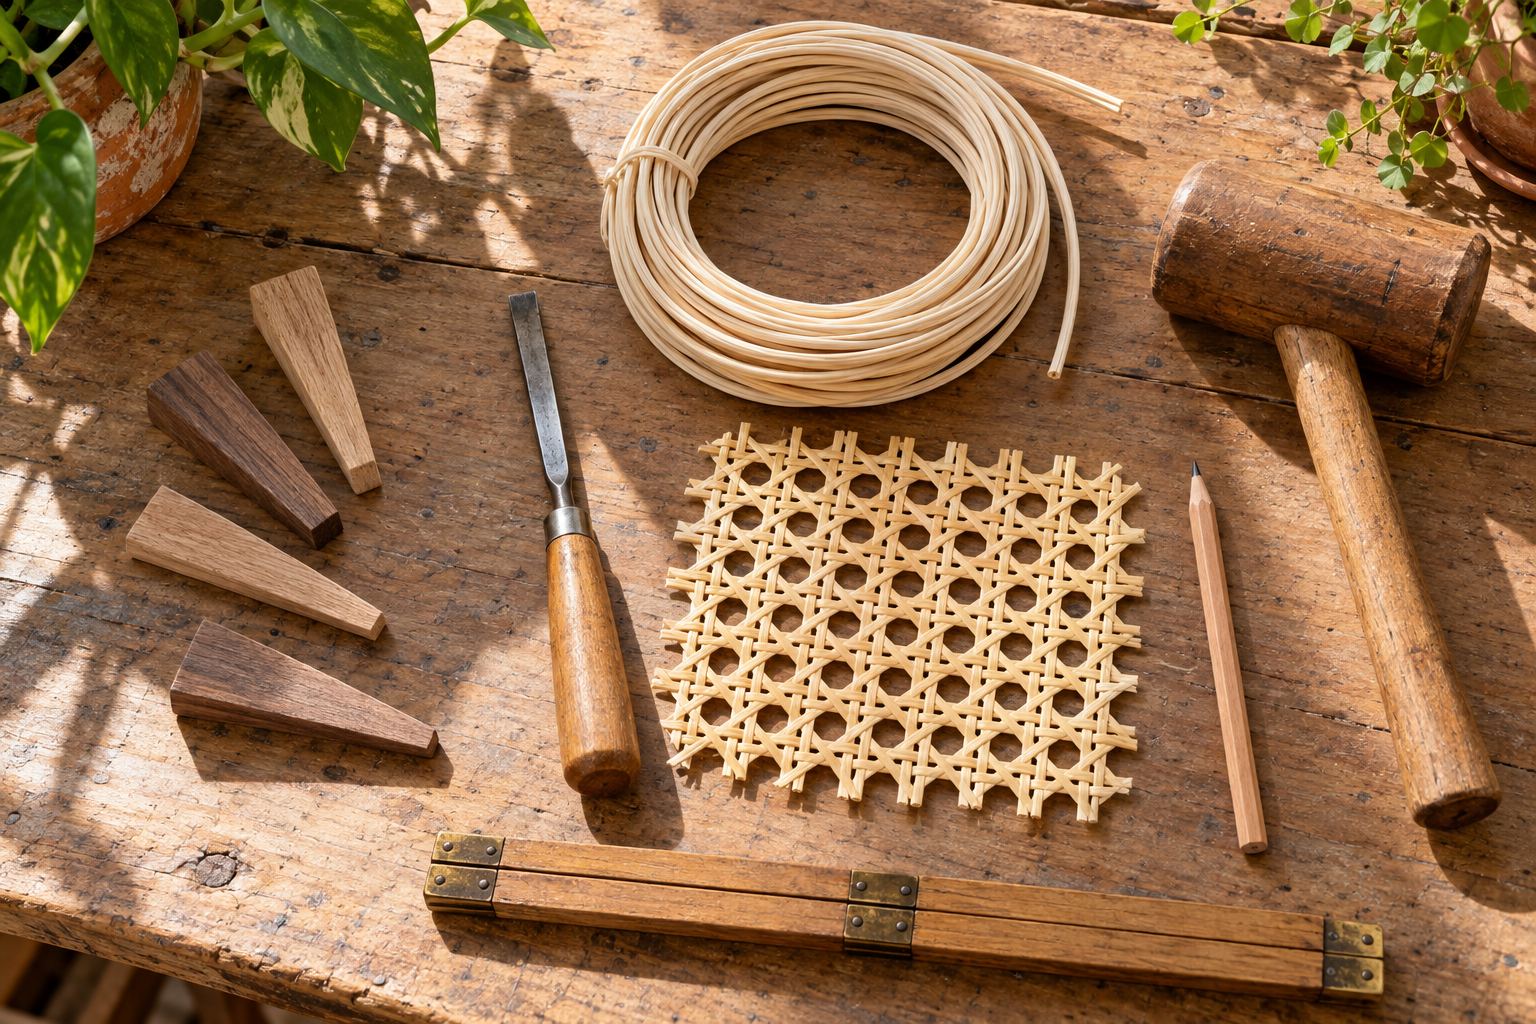
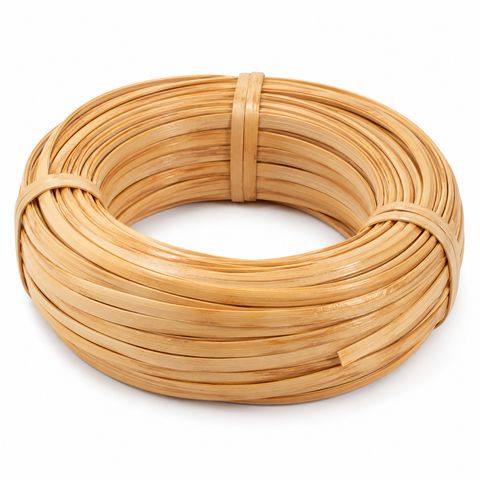
- Binder cane in 4, 5 or 6 mm, matched to the old wrap
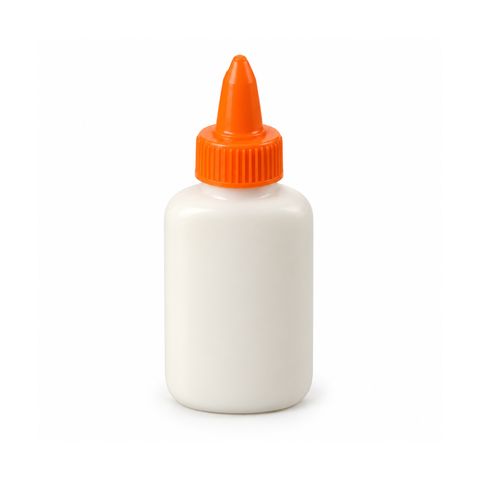
- Wood glue, a PVA glue that dries clear
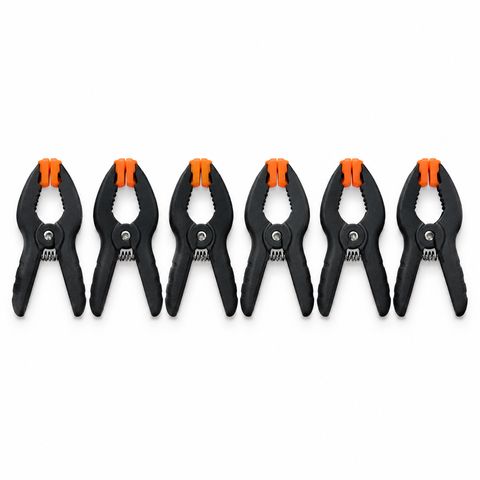
- Spring clamps, to hold a reglued joint and the end of the wrap while the glue sets
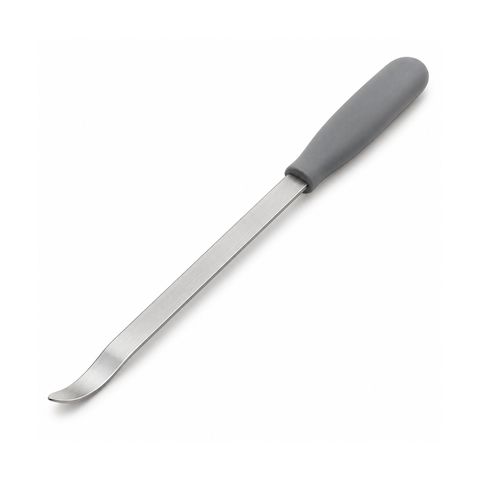
- A wicker weaving tool, to lift turns when you tuck the end
- A utility knife, or sharp scissors or side cutters
- Small wire nails or brads and a light hammer, or a staple gun with small staples
- Sandpaper, needle-nose pliers, painter’s tape
- A tray of warm water, a sponge and a towel
Choose the width and work out the length
Measure one unbroken turn of the old wrap across its width, in mm. Our binder comes 4 mm (about 5/32 in), 5 mm (about 3/16 in) and 6 mm (about 1/4 in). Match the old wrap if you can. If it was wider than 6 mm, use 6 mm; you will simply make more turns.
To estimate the length:
- Wrap a strip of paper once around the leg and mark where it meets. That is one turn.
- Measure how tall the wrapped area is, and divide by the binder width to get the number of turns.
- Multiply turns by the length of one turn, then add a few turns’ worth for the start, the finish and something to hold.
For example, a leg 4 in around with a 3 in tall wrap takes about 12 turns of 6 mm (1/4 in) binder: 48 in, plus three turns’ worth, so about 5 ft. A 500 ft hank does many legs. For one small wrap, the 4 mm binder strand that comes with a strand cane hank can be enough.
Step 1: Take off the old wrap
- Photograph the wrap first, so you can see which way it turned and where it started and ended.
- Find the end. It is usually on the inside of the leg or underneath, where it does not show.
- Pull any small nails or staples with needle-nose pliers.
- Unwind the old wrap and cut it off.
- Scrape off old glue and sand lightly, so new glue can grip bare wood.
If the old wrap is sound and only slack, you may not need new cane. Unwind the loose part until the rest is tight, brush glue on the back of the loose part, wind it back on tight and tape it down until the glue dries.
Step 2: Fix the joint first
A wrap binds and hides a joint, but it will not make a loose one solid. If the joint moves when you rock it:
- Work wood glue into the joint. A thin knife or a syringe gets glue deep into a tight gap.
- Reset or tighten any nail or screw that holds the joint.
- Clamp it with spring clamps or bind it with tape, wipe off squeeze-out with a damp cloth, and let the glue dry fully.
A pole with a split along the grain can be glued, pressed closed and clamped the same way, then wrapped over. A pole that is broken through will not be saved by a wrap.
Step 3: Soak the binder
Coil the binder loosely, shiny side out, and soak it in warm water for 15 minutes. It is wider and stiffer than seat cane, and it needs the full soak to turn the first corner without cracking. Wipe off the drips and keep a damp sponge at hand. How to soak cane and reed has more.
The usual mistake is cutting the soak short. Binder that cracks at the first turn was not soaked long enough or had already started to dry.
Step 4: Start the wrap
Start at the end that is hardest to reach, usually tight against the seat frame or the joint, so you finish out in the open where tucking is easier. Brush a thin coat of glue on the leg where the wrap will go, a few inches at a time.
Choose one of two starts:
- Locked start, no nail. Lay the first inch or two of binder along the leg, under the area you are about to wrap. Make the first turns over it, so the turns trap the end.
- Nailed start. Hold the end on the inside of the leg, right at the edge of the wrap area, and fix it with one small wire nail or a small staple. Nails can split cane, so use the thinnest one that holds, and keep it back from the cut end.
Step 5: Wrap
- Keep the shiny side out, and do not let the binder twist.
- Pull each turn firm and lay it snug against the last one, so no wood shows between them. A slight overlap is fine; a gap is not.
- Keep the turns at the same angle as the old wrap in your photo, usually straight across the leg.
- Every few turns, push the turns together with your thumb.
- Wipe the binder with the sponge whenever it stiffens.
- If a strand runs out, finish it on the hidden side with a small nail or tuck it under the next turns. Start the new strand the same way you started the first.
Do not count on drying to fix a loose wrap. The cane does shrink as it dries, but it will not close gaps or tighten turns that were slack.
Step 6: Finish the wrap
Stop when you reach the end of the old wrap area. Then lock the end in one of three ways:
- Tuck. Lift the last few turns with the weaving tool, cut the binder at a sharp angle, feed the end back under them and pull it snug with pliers. Add a dab of glue under the end.
- Loop pull-through. Before the last several turns, lay a loop of strong thread or a folded strand of cane along the leg, with the loop pointing toward the finish. Wrap over it, pass the end of the binder through the loop and pull the loop back out. It draws the end under the turns.
- Nail. Fold the end to the inside of the leg, fix it with a small nail or staple and trim it flush.
Hold the end with a spring clamp or a piece of painter’s tape until the glue sets, and wipe off any glue that shows.
Step 7: Dry and finish
Leave the piece overnight at room temperature, away from heaters and direct sun. As it dries, the binder shrinks snug around the leg. Once it is dry, snip any raised hairs with small scissors.
You can leave the wrap natural; it darkens with age. To blend a new wrap with old ones, stain it. On painted furniture, paint it with the rest of the piece using wicker paint, in thin coats.
Nails, staples or glue
| Fastener | Use it for | Watch out for |
|---|---|---|
| Wood glue | A thin coat under the whole wrap, and under tucked ends | Needs the turns or a clamp to hold while it dries |
| Small wire nails or brads | Start and end, on the hidden side | Can split the cane; use the thinnest that holds |
| Small staples | Start and end, on the hidden side; fast | Show more than a nail; keep them out of sight |
| Tucked end | A clean finish with nothing showing | Needs damp binder and a tool to lift the turns |
Related repairs
For broken weavers, loose joints and split poles on the rest of the piece, see how to repair natural rattan furniture. If your wrap is plastic, not cane, the method is in how to repair outdoor resin wicker furniture; rattan vs wicker vs cane helps you tell which you have.
The binder, glue, clamps and weaving tool for this job are listed on the repair wicker furniture project page.
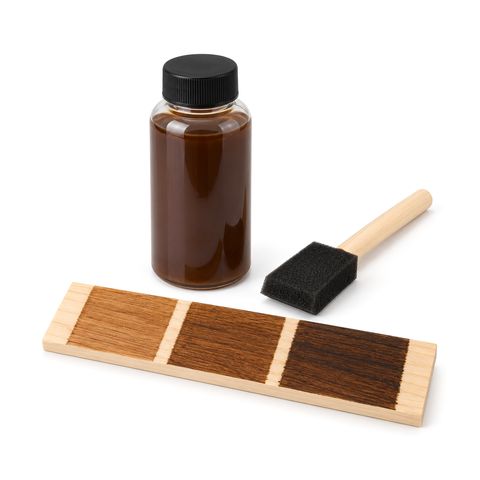 Water-Based Wood Stain for Chair Frames and Cane