How-to
How to weave a flat reed seat (splint seat)
Weave a flat reed chair seat: soak the reed, wrap the warp, weave a twill on top and underneath, splice under the seat and fill the front corners.
Updated
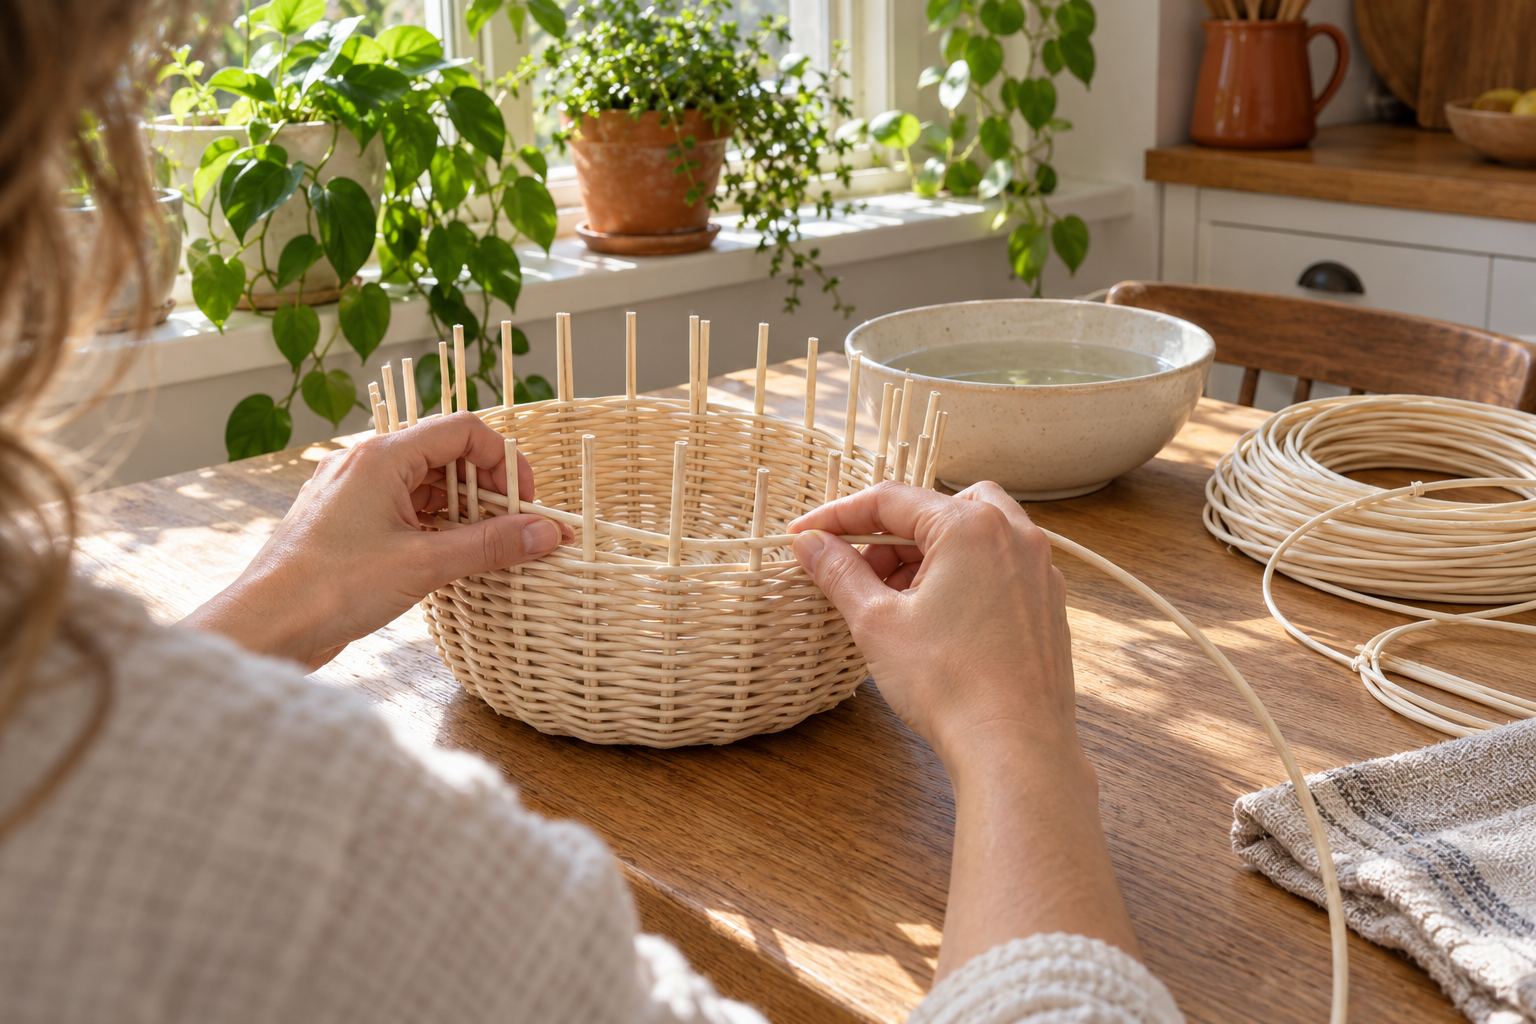
A flat reed seat, also called a splint seat, is woven from flat strips of rattan core. The reed is soaked so it bends, wrapped from front to back around the rails as the warp, then woven from side to side through the warp in a stepped twill, on top and underneath. Joins overlap under the seat, and the reed tightens a little as it dries.
It is the seat often seen on porch rockers and country ladderbacks, and the frame is the same as for rush or tape: four rails, with posts at the corners. The reed is in our basket and seat weaving supplies, and the rush, seagrass and tape seat project page lists the tacks, clamps and tools that suit this seat too.
What you need
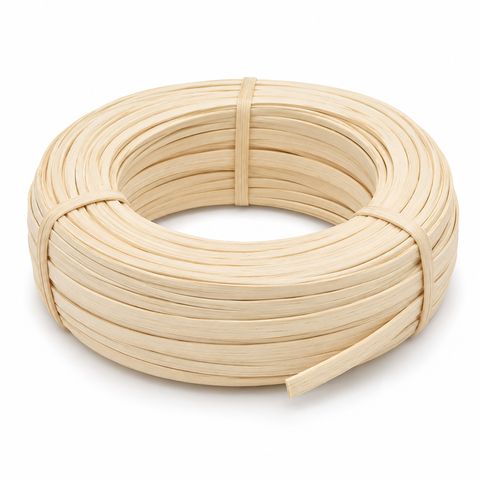
- Flat reed, usually 1/2 in wide for a side chair
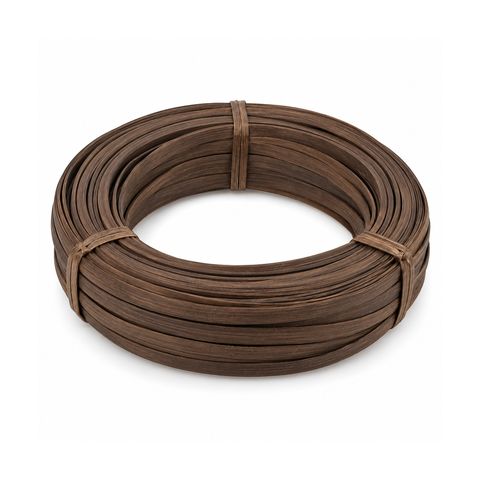
- Smoked flat reed in the same width, for a two-tone seat (optional)
- A tub or sink of warm water and an old towel
- A spray bottle
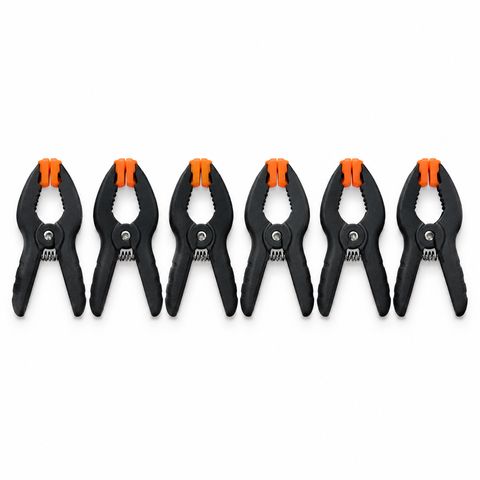
- Two or three spring clamps
- An upholstery staple gun, or tacks and a hammer
- Scissors
- A dull table knife, to lift the warp and guide the weavers
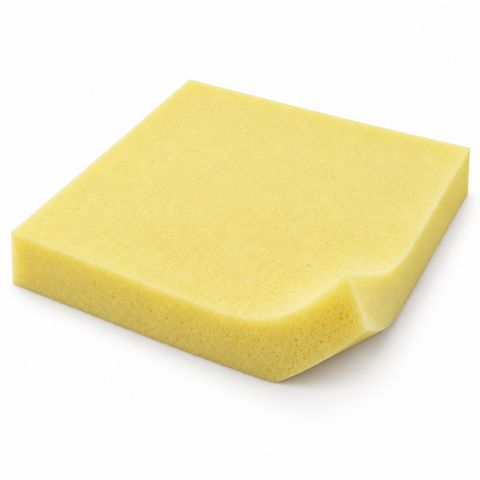
- Upholstery foam, for a padded seat (optional)
- Shellac, or clear varnish and mineral spirits, for sealing
Width and amount
Wider reed covers faster and gives a bolder pattern. Narrower reed weaves a finer seat but takes more rows. Half-inch reed is a common choice for side chairs, and an average side-chair seat takes more than one 1 lb coil, so order two. Wide seats and thick rails take more.
Our smoked flat reed comes in 1/4 and 1/2 in, the same as two of the natural widths, so the two colors can share a pattern width for width.
Soak the reed
Flat reed is rattan, so unlike paper cord or seagrass it is soaked before use.
- Coil a few strands loosely and soak them in warm water for about 15 to 20 minutes. Seat work needs a longer soak than basket work, because the reed wraps tightly around the rails.
- Soak only what you will use in the next stretch of work. Reed left in water too long turns fuzzy.
- Keep soaked strands under a damp towel, and mist the seat as you work. Reed that dries out while you weave can split along its length.
There is more on water, timing and storage in how to soak cane and reed.
Find the smooth side
One side of flat reed is smoother than the other, and the smooth side faces out, on top and underneath. Bend a wet piece sharply into a U. The side that frays and lifts fibers is the rough side, and it faces in. Mark any measurements on the rough side.
Step 1: Prepare the frame
Glue loose joints, and finish any wood that will show. If the seat is wider at the front, hold a square against the back rail at the inside of each back post and mark where it meets the front rail. The warp goes between those marks; the triangles outside them are filled later.
Step 2: Wrap the warp
- Staple or tack the end of a soaked strand to the inside of the back rail, near one post.
- Run it forward across the top of the seat, over the front rail, back along the underside, and up over the back rail to the top again. Keep the smooth side out.
- Lay each wrap snug against the last. Pull it firm but not drum-tight: the reed tightens as it dries, and the weft adds more tension.
- When a strand runs out, splice on the underside, about midway between the front and back rails. Overlap the new strand about 6 in on the old one, hold it with a spring clamp, and staple through both layers.
- Carry on until the warp fills the back rail, or the space between your marks. Fasten the end on the inside of a rail.
The mistake to avoid is a splice on top or on a rail. It shows, and the double thickness will not bend neatly around the rail.
Step 3: Add a foam pad (optional)
A pad makes the seat softer. Cut a piece of upholstery foam about 1 in thick, a little smaller than the opening inside the rails, trim the corners, and slide it between the top and bottom layers of the warp. Leave it out on a chair that will live somewhere damper than an ordinary room.
Step 4: Weave the twill
The weft runs from side to side, starting at the back and working forward. It wraps around each side rail and continues across the underside.
- Mist the warp, and dip each new weaver in water before you use it.
- Weave the first row across the top: under three warp strands, over three, and so on. Over two and under two also works and gives a smaller pattern.
- Wrap around the side rail and weave the underside in the same pattern.
- Start the next row one warp strand along, and the row after that one more, so the pattern steps diagonally across the seat.
- Push each row back against the last one and pull it snug to the side rails.
- Where the warp is tight, slide the table knife under it and use the blade as a ramp for the weaver.
Splicing the weft
Splice on the underside, about midway between the side rails. Overlap the new weaver 6 to 8 in on the old one and tuck both ends under warp strands. The weave holds them; no staples are needed.
Step 5: Fill the front corners
On a seat that is wider at the front, open triangles appear beside the warp at the front corners as the weft moves forward. Fill them with short extra warp strands wrapped around the front rail. Tuck their ends around weavers on the top and underside, pull out the slack, and keep weaving the twill across them, following the stepped pattern.
Step 6: Finish and seal
- The last rows are tight. Keep misting and keep using the knife as a ramp.
- Tuck the end of the last weaver under warp strands on the underside.
- Let the seat dry overnight. It tightens as it dries.
- Clip any splice ends that show, and trim loose fibers with scissors rather than pulling them.
- Seal the underside, then the top, with a thin coat of shellac, or varnish thinned about half and half with mineral spirits. Sealing both sides helps the reed cope with seasonal changes in humidity. Let it dry fully before anyone sits on it.
Two-tone seats
Smoked flat reed is darkened all the way through, so a cut end or a scuff stays brown. Use it for the warp with a natural weft, or weave bands of it into the weft. Smoking varies a little from strip to strip, so sort the strips by shade before you start and keep the closest ones together.
Flat reed or tape?
Cotton tape weaves the same way and needs no soaking; see how to weave a Shaker-style tape seat. If you have reed left over, basket weaving for beginners is a good use for it. For tacks, clamps and the other four-rail seat supplies, see the project page.
 Round Reed for Basket Weaving