How-to
How to weave a Shaker-style tape seat
Weave a cotton tape chair seat: wrap the warp, fill the front corners, add an optional foam pad, then weave a checkerboard or herringbone weft.
Updated
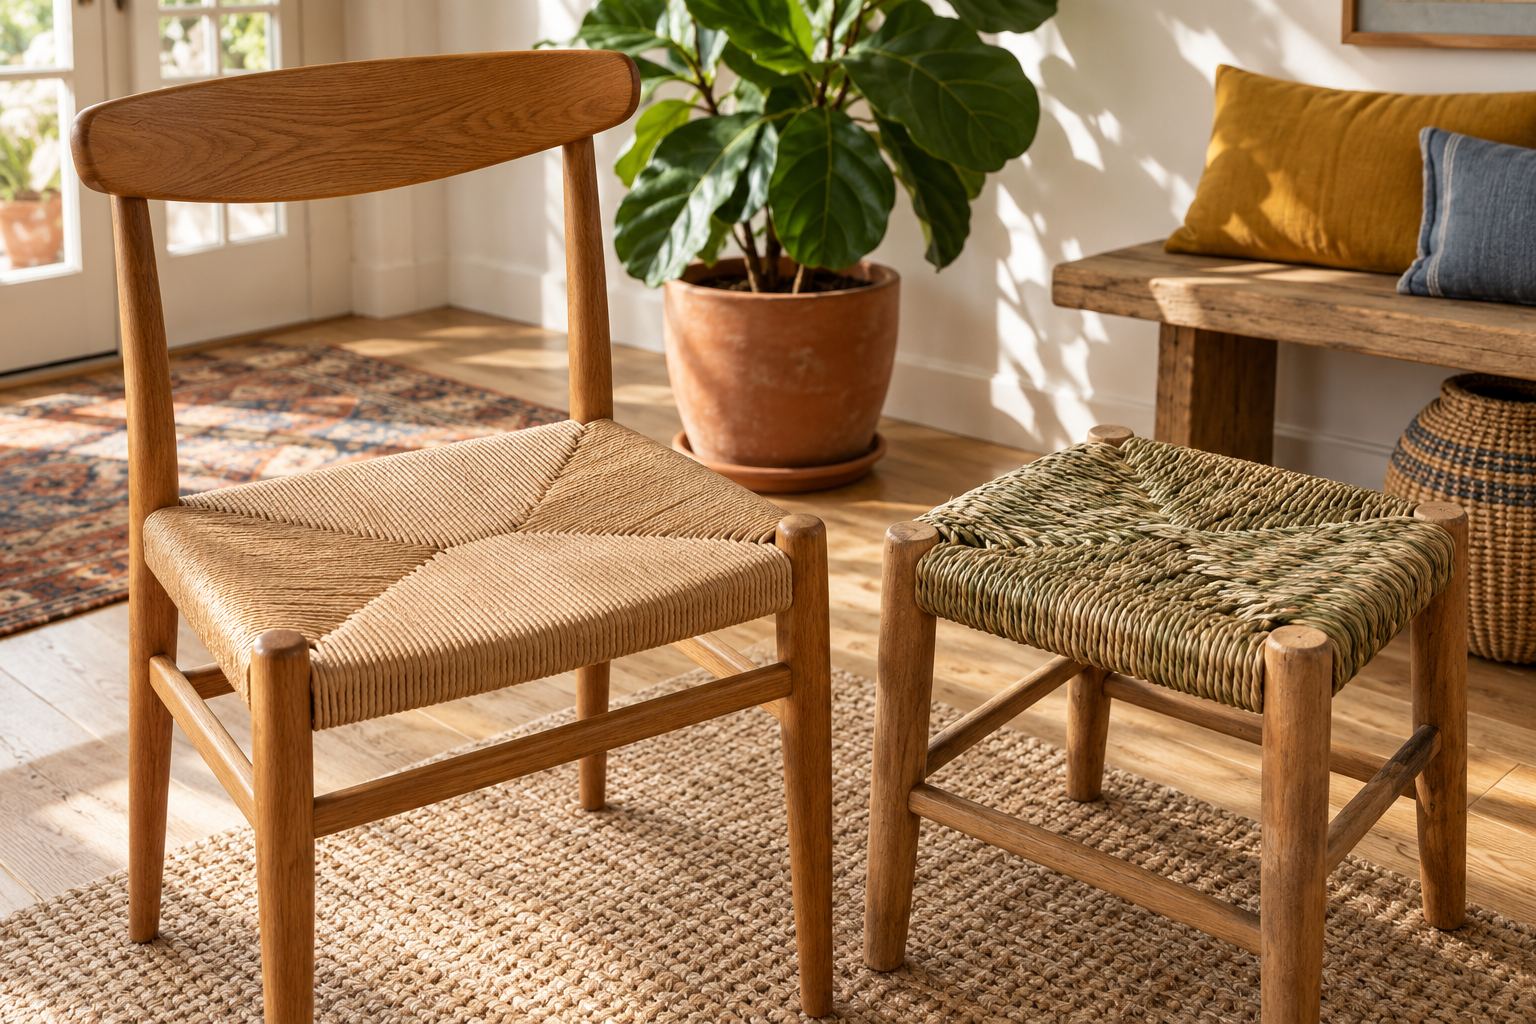
A Shaker-style tape seat is two layers of flat cotton tape. The warp wraps around the front and back rails; the weft weaves through it from side to side, across the top and usually across the underside too, with an optional foam pad between the layers. The tape needs no soaking and no special tools, and it is one of the quickest woven seats for a first-timer.
Tape seats suit chairs and stools with four rails, the same frames that take rush. The rush, seagrass and tape seat project page lists the tape, fasteners and tools in one place.
What you need
- Shaker tape: flat, woven cotton seat tape
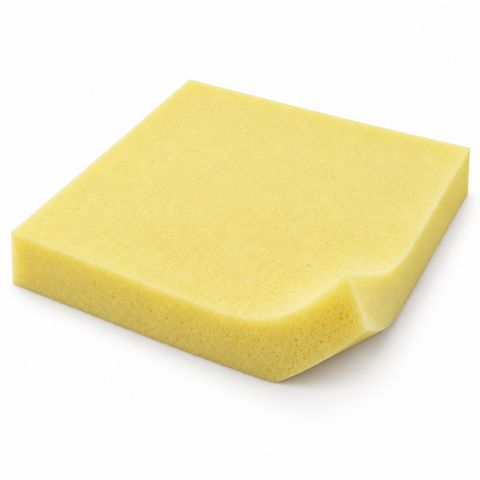
- Upholstery foam, for a padded seat (optional)
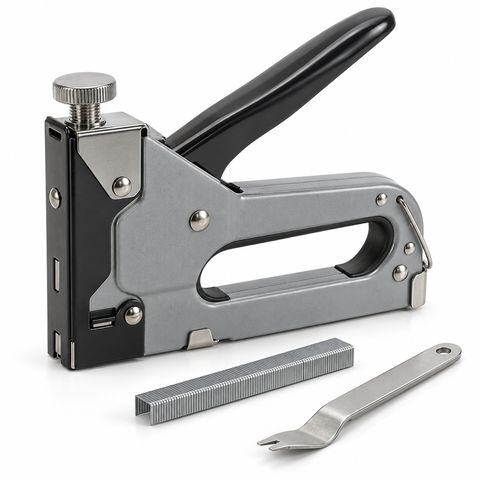
- An upholstery staple gun, or small upholstery tacks and a hammer
- Two spring clamps
- Scissors and a tape measure
- A dull table knife or a thin flat stick, to lift the warp and straighten rows
- A long, flat wooden needle cut from a thin slat, to feed tape through tight spots (optional)
Choose the width and the pattern
Seat tape is traditionally made in two widths:
- 1 in tape weaves faster and gives a bold, blocky pattern. It is usually woven as a checkerboard.
- 5/8 in tape takes longer, packs tighter and suits finer patterns such as herringbone and diamonds.
Use one color for a solid seat, or two for a pattern. With two colors, put the darker one in the warp: the warp covers the front rail, where a seat gets dirtiest.
How much tape
Measure the front rail between the posts and the depth of the seat from the front rail to the back rail, in inches. Multiply the two, then:
- divide by 9 for 1 in tape, or
- divide by 5.3 for 5/8 in tape.
The answer is the total yards for the seat, warp and weft together. A seat 16 in wide and 14 in deep takes about 25 yd of 1 in tape or about 42 yd of 5/8 in. For two colors, split it about evenly. Round up: having a little left over is better than running short with one row to go.
Step 1: Prepare the frame
Glue loose joints and sand off splinters or rough spots on the rails, which would wear through the cloth. The tape covers the rails completely, so finish any wood that will still show before you start.
Step 2: Wrap the warp
The warp is one long, continuous piece.
- Turn the chair upside down. Tack or staple the end of the tape to the inside of the left side rail, near the back post. Put fasteners on inside edges, so their heads cannot rub through the tape over time.
- Take the tape forward to the front rail, wrap it over the rail and back along the top of the seat, over the back rail, under it, and forward along the underside to the front rail again.
- Keep wrapping, laying each row tight beside the last. Rows should butt together without overlapping, and the tape should stay flat. A twist shows on the finished seat.
- Wrap loosely at first. When the back rail is covered between the posts, clamp the tape to the front rail, go back to the first row and pull each row in turn to take up the slack.
- Squeeze in another row if it fits, then tack the end to the inside of a side rail, underneath, and cut off the excess.
With 1 in tape, each inch of back rail takes one row. With 5/8 in tape, every 5 in takes eight rows. The warp tightens further as the weft goes in, so make it snug, not drum-tight.
Step 3: Fill the front corners
On a seat that is wider at the front, the warp leaves an uncovered triangle on the front rail at each side. Fill them with short pieces of tape. Tack each piece to the side rail on top, wrap it around the front rail like the warp, and tack it to the side rail underneath, as far back as you can. Add pieces until the front rail is covered.
The two sides do not need the same number of pieces. What matters is that no wood shows.
Step 4: Add a foam pad (optional)
A pad makes the seat softer, and it helps the top and bottom layers carry weight together, so the seat sags less. Cut a piece of upholstery foam about 1 in thick, a little smaller than the opening inside the rails, with the corners trimmed. Push it in from one side between the top and bottom layers of the warp, with one hand on top and the other underneath guiding it along.
Without foam the seat is flatter and firmer. Decide before you weave the weft: the pad cannot go in once the weave is tight.
Step 5: Weave the weft
The weft is the second long piece. It runs from side to side, starting at the back and working forward.
- With the chair upside down, tack the end of the weft to the back rail near a back corner, under the warp.
- Weave the first row across the top.
- Checkerboard: over one warp row, under the next.
- Twill, often called herringbone: over two, under two.
- Wrap the tape around the side rail and weave back across the underside in the same pattern.
- Pull the row straight, push it firmly back against the row before, and take out the slack.
- Offset each new row from the last. For a checkerboard, go under where the last row went over. For a twill, start one warp row further along each time, so the pattern steps diagonally across the seat. Reverse the direction of the step and the diagonals turn into a zigzag.
- When you reach the corner filler pieces, weave under them as soon as you can. That locks them in place.
On a seat that is wider at the front, the weft tends to creep back along the angled side rails. Push every row firmly back as you go and keep the weave tight.
Joining tape
If a piece runs out, join the next one on the underside. Overlap the ends and stitch across them, or staple them together, and hide the joint under a row of weft. Never join on the top.
Step 6: Finish at the front
The last rows are tight. Lift the warp with the table knife to feed the tape through, and squeeze the last several rows together with your fingers if you need room for one more. Turn the chair over, pull the end through at a front corner, and tack it to the underside of the front rail, under the warp. Trim the end.
Care
Vacuum a tape seat now and then and spot-clean it with a damp cloth. Tape seats are for indoor furniture.
Tape, flat reed or cord?
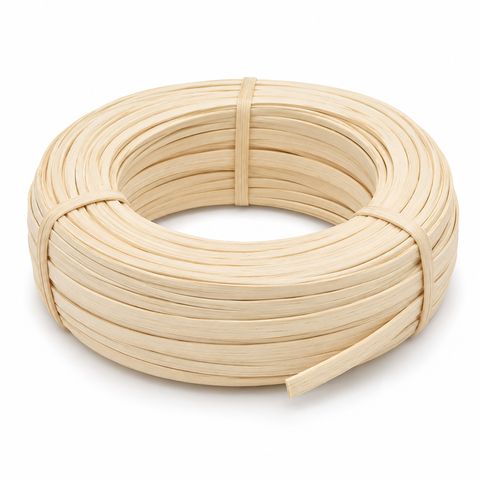
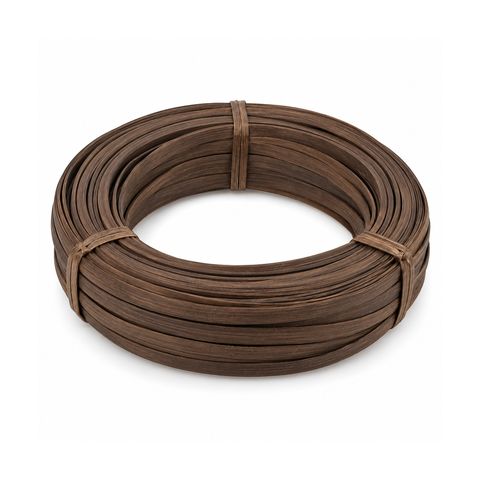
Flat reed weaves the same way, warp and weft, and gives a harder, natural seat. For a tape-like look, choose one of the wider widths of flat reed; for two colors, pair natural and smoked flat reed of the same width. Unlike tape, reed is soaked before use; see how to weave a flat reed seat. For a twisted cord in the rush pattern, see how to weave a seagrass seat or weaving a fiber rush seat. Everything for a tape, rush or seagrass seat is on the project page.
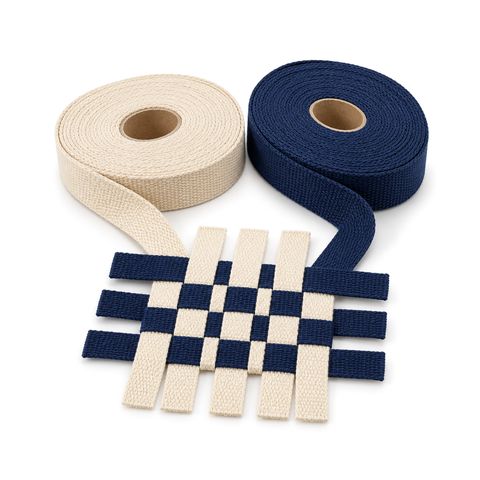
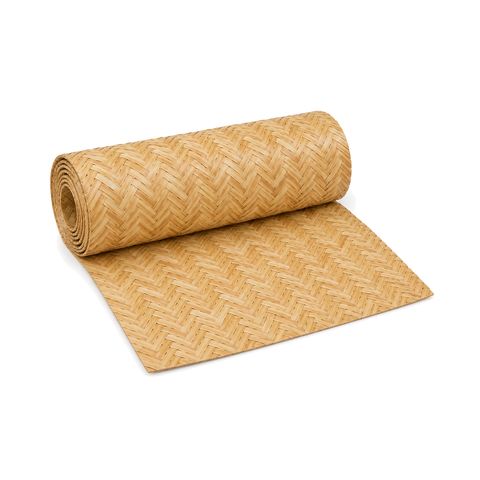 Herringbone Cane Webbing
 Upholstery Tacks