How-to
Basket weaving for beginners: your first reed basket
Weave a first round basket on a wooden base: which reed sizes to buy, how to soak it, set the stakes, weave the sides and finish with a simple border.
Updated
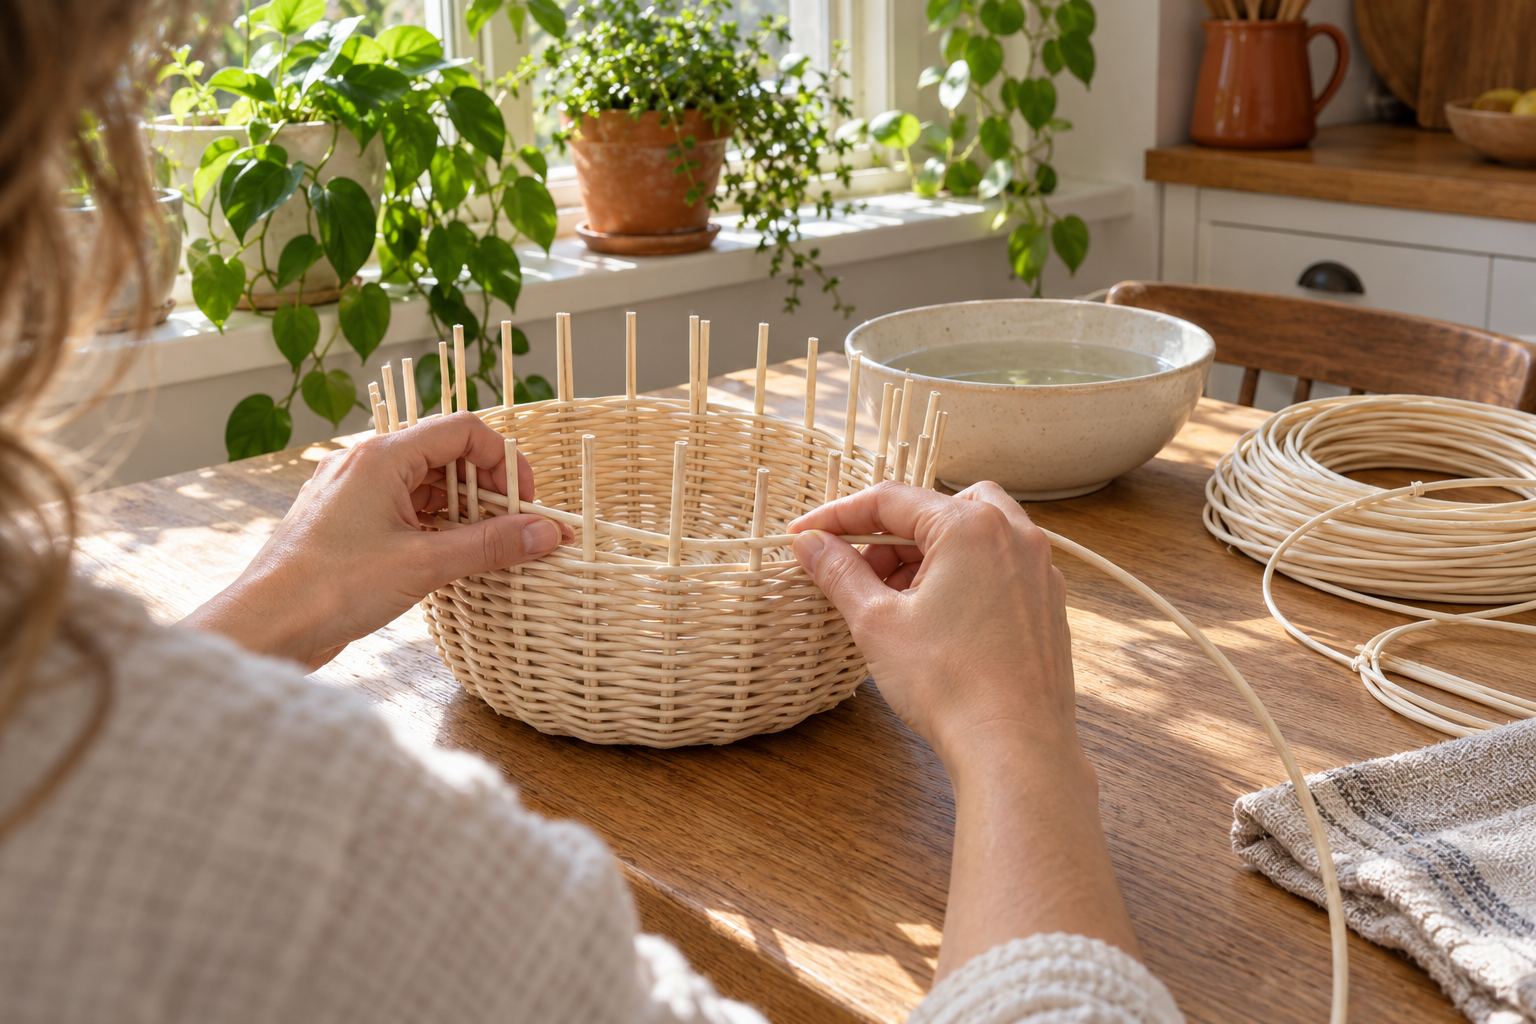
A small round basket on a wooden base is the easiest way to start basket weaving. The base is already made, so you skip the hardest part of a first basket and go straight to weaving the sides. You learn the three things every reed basket needs: soaking, stakes and weavers, and a border. A first one usually takes an afternoon.
What you need
| Item | What it does | For a first basket |
|---|---|---|
| Wooden base with holes | The bottom; holds the stakes upright | A small round base |
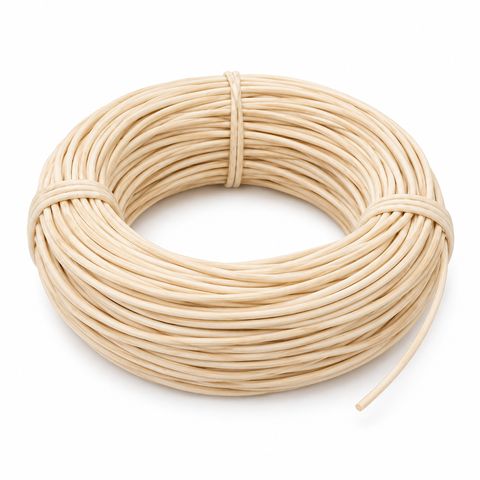
| Round reed for stakes | The upright ribs the weaving wraps around | A heavier size, such as #4 |
| Round reed for weavers | Goes in and out around the stakes | A lighter size, such as #2 |
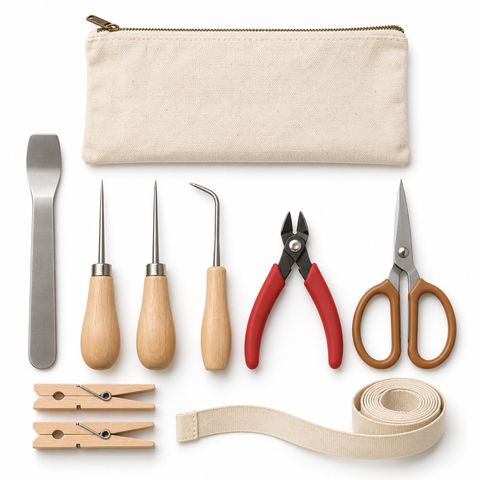
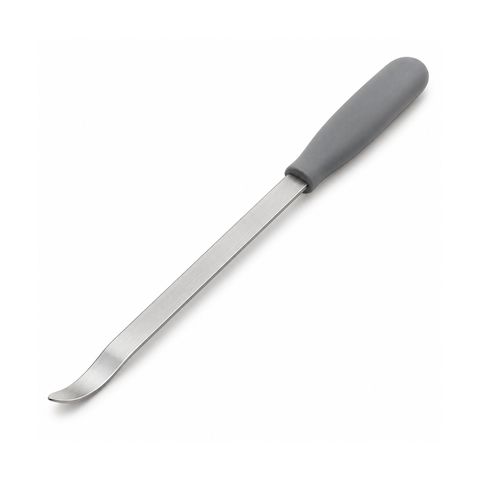
You also need sharp scissors or side cutters, a bowl or bucket of warm water, a towel, a few clothespins or clips, and a tape measure. A packing tool and an awl help but are not essential. The basket weaving tool kit has all of them in one pouch.
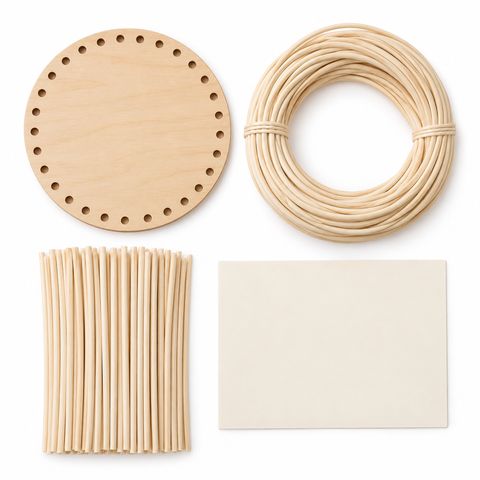
If you would rather not choose sizes yet, the beginner basket weaving kit has a pre-drilled round base, natural round reed for stakes and weavers, and a printed step-by-step card for one basket about 7 in across.
Round reed sizes
Round reed is sold by number. The stakes are usually a heavier size than the weavers; #4 stakes with #2 weavers is a common pairing for small baskets.
| Size | Diameter | About per 1 lb coil | Typical use |
|---|---|---|---|
| #2 | 1.75 mm | 1100 ft | Weavers for small baskets |
| #3 | 2.25 mm | 750 ft | Weavers |
| #4 | 2.75 mm | 500 ft | Stakes for small baskets |
| #5 | 3.25 mm | less | Stakes for larger baskets |
| #6 | 3.75 mm | less | Heavier stakes |
Make sure the stakes fit the holes in your base snugly. A stake that wobbles in its hole makes an uneven basket.
Soak the reed
Dry reed is brittle and cracks when you bend it. Coil the pieces loosely and soak them in warm water for 5 to 10 minutes, until a strand bends around your finger without cracking.
- Soak only what you will use in the next little while. Reed left in the water too long turns soft and hairy.
- Keep the reed damp as you work. Wrap soaked weavers in a wet towel, and dip the basket now and then if the stakes start to stiffen.
- Let any leftover reed dry completely before you put it away. Damp reed can grow mold, so store it somewhere dry and airy, not in a sealed plastic bag.
Set the stakes
- Count the holes in your base and write the number down. Whether it is odd or even decides how you weave the sides.
- Work out the stake length. Each stake needs a short tail below the base for the foot border, plus the height of the sides, plus at least 6 in above the weaving for the top border. Cut one stake, try the foot border with it, and then cut the rest to match.
- Push a soaked stake up through each hole, leaving the tail sticking out below the base.
- Weave the foot border. Turn the base upside down. Take one tail in front of the next stake to its right and behind the one after that. Do the same with every tail all the way around. Tuck the last tails under the first ones so the ring locks, and pull it snug against the base. Trim any ends that stick out past the edge.
- Turn the base right side up. The foot border holds the stakes in place, and the basket now stands on it.
Weave the sides
The basic weave is called randing: one weaver goes in front of one stake and behind the next, all the way around, row after row.
Odd or even
With one weaver, randing only alternates by itself on an odd number of stakes. Each time you come around, the weaver lands on the other side of each stake, so the rows interlock.
On an even number of stakes, the weaver would sit in the same place every row. Weave each row as its own ring instead: start behind a stake, weave once around, overlap the end with the start behind the same stakes, and begin the next row one stake along.
Weaving
- Tuck the end of a soaked weaver behind a stake and hold it with a clip.
- Weave in front of one stake, behind the next, and keep going around.
- Every few rows, push the weaving down with a packing tool or your fingers so the rows sit tight and even.
- Watch the shape from above. Pull the weaver hard and the sides lean in; leave it loose and they flare out. Keep the stakes evenly spaced and upright for straight sides.
- When a weaver runs out, end it behind a stake and start the new one behind the same stake, so the two ends overlap there. Keep the ends on the inside.
Stop weaving when every stake still has at least 6 in left above the weaving. That length becomes the border. Push the rows down one last time before you start it.
Finish with a simple border
- Soak the tops of the stakes until they bend easily. You can turn the basket upside down in the water.
- Take one stake behind the stake to its right and bring it out to the front. Do the same with the next stake, and the next, all the way around.
- For the last one or two stakes, thread them through the loops made by the first ones so the border closes without a gap.
- Snug each loop down against the top row, firm but not tight enough to crush the reed.
- Let the basket dry completely, then trim the ends at an angle, leaving each one resting against a stake so it cannot slip back through. Snip off any loose fibers with small scissors.
Your first project
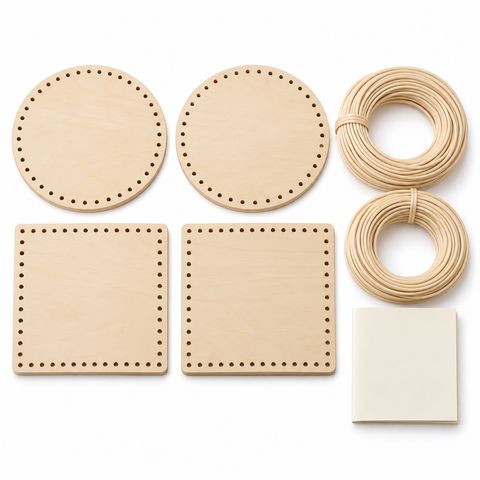
For a first basket, keep it small and round. The beginner kit is one basket with everything inside; you only add scissors, a bowl of warm water and a towel. For a class or a family afternoon, the set of 4 kit has two round and two square bases for baskets about 5 to 7 in across.
Where to go next
Once the first basket is done, try:
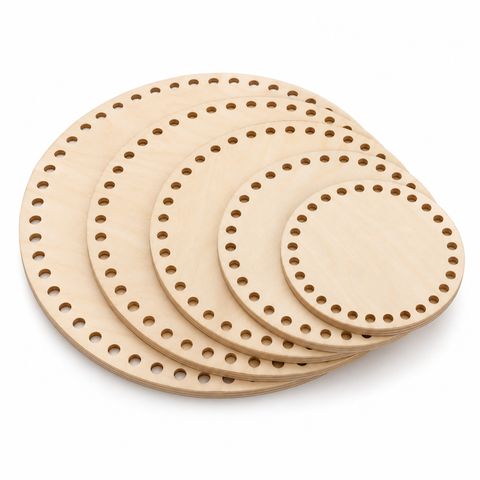
- a larger round base from the set of five, 4 to 12 in, or an oval base for a bread basket
- flat reed weavers for a different look (soak a few minutes, smooth side out)
- a band of smoked flat reed, dark all the way through
- thicker rattan core stakes for a sturdier basket
For baskets made without soaking, paper rattan strip and cotton rope are both worked dry. Everything is in basket weaving supplies.
 Wicker Weaving and Prying Tool