How-to
How to reupholster a drop-in chair seat
Re-cover a dining chair drop-in seat: strip it, fix the base, cut foam and batting, stretch the fabric, fold neat corners and add a dust cover.
Updated
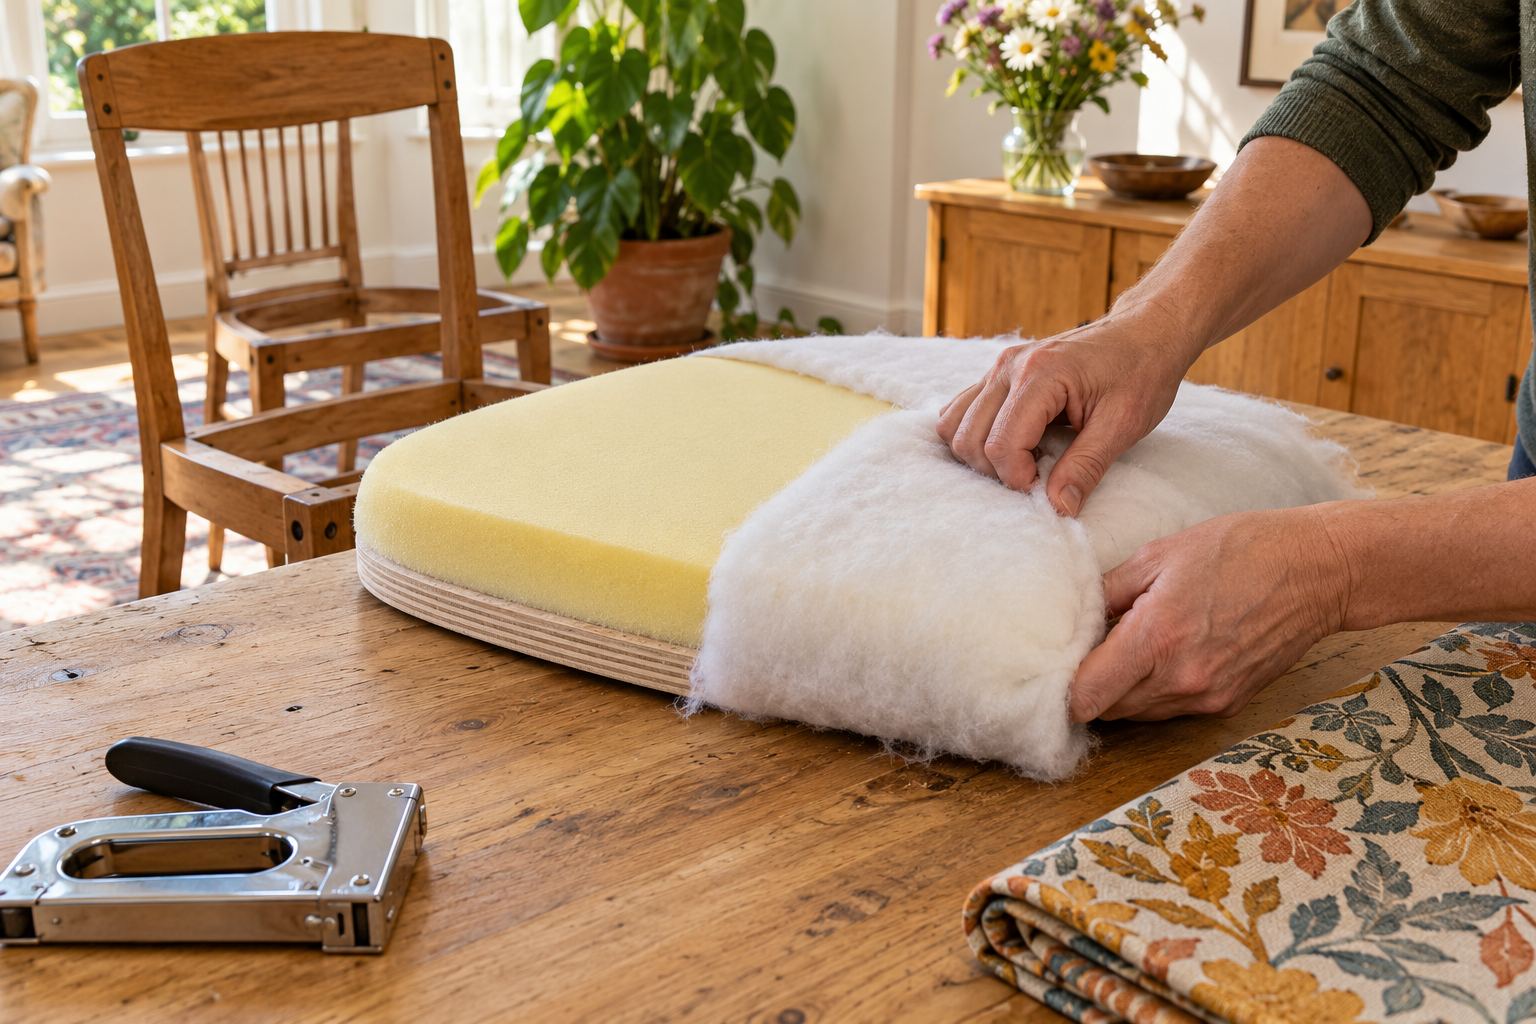
A drop-in seat, also called a slip seat, is the padded panel that lifts out of a dining chair. It is held by a few screws from underneath, so re-covering it needs no special skill: take it out, strip it, pad it, stretch new fabric over it and staple it underneath. Most people finish one seat in an afternoon.
Everything you need is on the project page for re-webbing and re-padding a chair seat.
Is it a drop-in seat?
Turn the chair over. A drop-in seat sits inside the seat rails, resting on corner blocks or a ledge, with a screw at each corner going up into it. If the fabric instead wraps around the outside of the chair rails and is tacked along them, the seat is upholstered onto the chair itself. That is a bigger job and not what this guide covers.
What you need
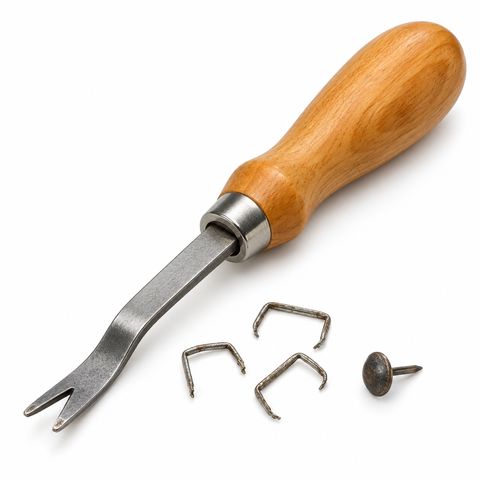
- A staple remover and pliers
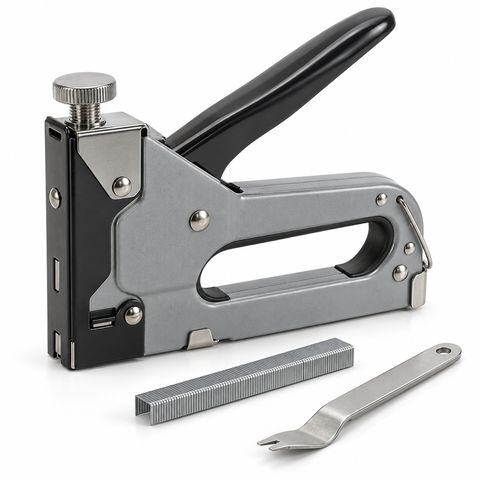
- An upholstery staple gun; ours takes standard T50-type staples
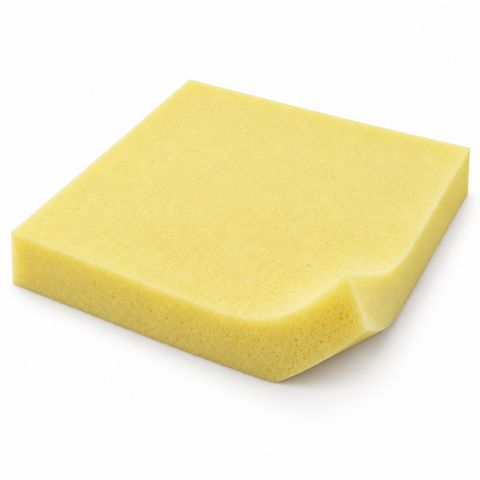
- Upholstery foam, 2 in thick
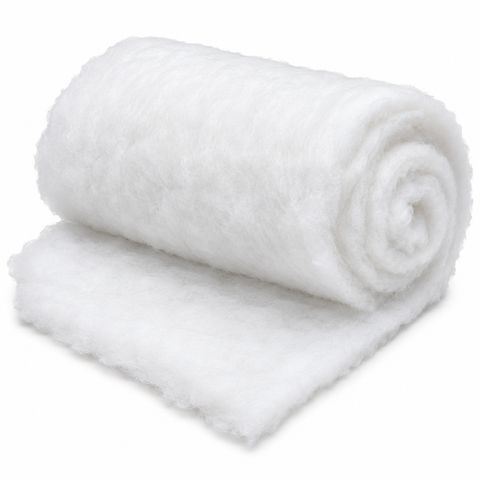
- Upholstery batting
- Upholstery fabric: a closely woven fabric that does not stretch much
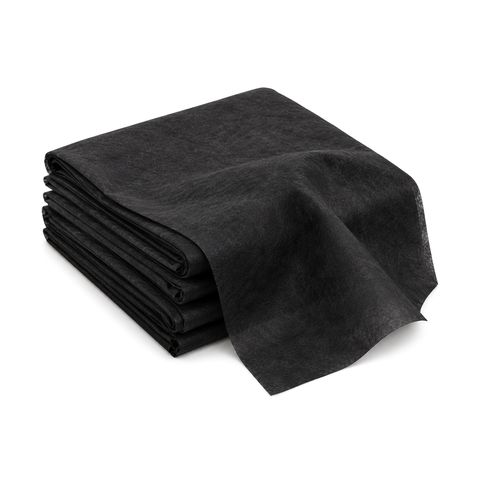
- Dust cover fabric for the underside
- A long serrated or electric knife for the foam, scissors, a utility knife, a marker and a tape measure
- A screwdriver, and a bag for the screws
- For an open frame with straps: elastic chair webbing or jute upholstery webbing
Step 1: Take the seat out
Unscrew the seat from underneath and put the screws in a bag. If you are doing a set, mark the underside of each seat with the chair it came from and an arrow to the front. Seats in a set often differ slightly, and the screw holes usually line up only one way. Photograph the old seat from underneath, especially the corners.
Step 2: Strip it to the base
Slide the staple remover under each old staple and lever it out. Take off the dust cover, then the fabric, then the old padding. Pull any staples that break with pliers. Do not leave stubs behind: they stop new staples going in flat and they snag new fabric.
Keep the old fabric. It is a rough pattern for the new piece, and its folds show you how the corners were done.
Step 3: Check the base
Drop-in seats are built one of two ways.
- Solid board. If it is cracked, soft or split at the screw holes, trace it onto plywood of the same thickness, cut it out and drill the screw holes to match.
- Open frame with webbing. If the straps sag or snap, replace them now. Copy the old ones: rubber straps call for elastic webbing, woven pale-brown straps for jute (see elastic vs jute upholstery webbing). Do not pull jute so hard that the frame bends, and set the frame back in the chair now and then to check it still fits.
Glue any loose joints in the frame before you go on.
Step 4: Cut the foam
Lay the base on the foam and trace around it. Cut about 1/4 in outside the line with a long serrated or electric knife, holding the blade upright so the edge stays square. That small margin lets the foam roll over the edge of the base, so the fabric does not pull tight against a hard wooden corner.
Center the foam on the base. A light coat of spray adhesive keeps it from sliding while you work, but it is not essential.
If the old pad was much thinner than 2 in and the seat was a snug fit, test the fit with the foam alone before you go further.
Step 5: Add the batting
Cut the batting big enough to cover the top and wrap over the edges to the underside. Lay the seat foam side down on it, pull it over each edge and staple it underneath, a few staples per side. Trim the extra so it does not bunch.
If the seat was tight in the chair, lay the batting over the top only and trim it at the edge of the foam.
Step 6: Cut the fabric
Measure the padded seat across the top and down over the edges, front to back and side to side. Add about 3 in on every side. Mark the center of the front and back edges on the underside of the base, and on the fabric.
Check the pattern before you cut: centered on the seat, stripes running straight front to back, and any nap brushing toward the back of the chair.
Step 7: Staple the fabric
- Lay the fabric face down on a clean table and set the seat on it, padding down, with the center marks lined up.
- Pull the front edge over and put one staple in the middle, a little in from the edge of the base.
- Pull the back edge firmly over and staple its middle. The fabric should now sit tight from front to back without distorting the pattern.
- Do the same with the two sides.
- Turn the seat over and check the pattern. If it has shifted, pull a staple and redo it now.
- Work from each center out toward the corners, a few staples on one side, then a few on the opposite side, pulling the fabric evenly each time. About 1 in apart is a good spacing.
- Stop a little short of each corner.
The common mistake here is pulling one side much harder than the others. The pattern runs crooked and wrinkles run from the corners. Pull those staples and pull again.
Step 8: Fold the corners
- Pull the point of the corner fabric straight in toward the middle of the seat and staple it.
- Fold the fabric left on each side of that staple into a neat pleat, or two smaller pleats on a thick seat, and staple them flat.
- Cut away the bulk underneath so the corner lies flat.
Make all four corners the same way. Matching front corners matter most, because they are what people see.
Step 9: Test the fit
Before the dust cover goes on, set the seat back in the chair. It should drop in with gentle hand pressure. If you have to force it, the new layers will push on the chair joints every time someone sits down. Lift the fabric along the tight side, trim the foam or batting at the edge, and staple it again.
Once you are happy, trim the extra fabric, leaving a little beyond the staples so it cannot pull loose.
Step 10: Add the dust cover
Cut the dust cover fabric to the size of the underside, fold its edges under and staple it, middles first, then every inch or so. It hides the staples and raw edges and keeps dust and loose padding in. Feel for the screw holes and cut a small slit over each one so the screws pass through.
Step 11: Put it back
Screw the seat back into the original holes. Tighten firmly, but stop before the screw spins; an over-tightened screw strips the hole. If a hole is already stripped, glue a wooden toothpick or two into it, trim them flush and drive the screw again once the glue has set.
Next steps
If the seat still feels hard or sags after re-covering, the problem is underneath: an open frame needs new webbing, and our guide to re-webbing a chair seat covers it. For the full list of foam, batting, webbing and tools, see the re-web and re-pad a chair seat project, or browse chair seat repair and upholstery.