How-to
How to weave a Danish cord seat with L-nails
Re-weave a Danish modern chair or stool in Danish cord: read the old seat, set the L-nails, wrap the warp, weave the weft and finish under the seat.
Updated
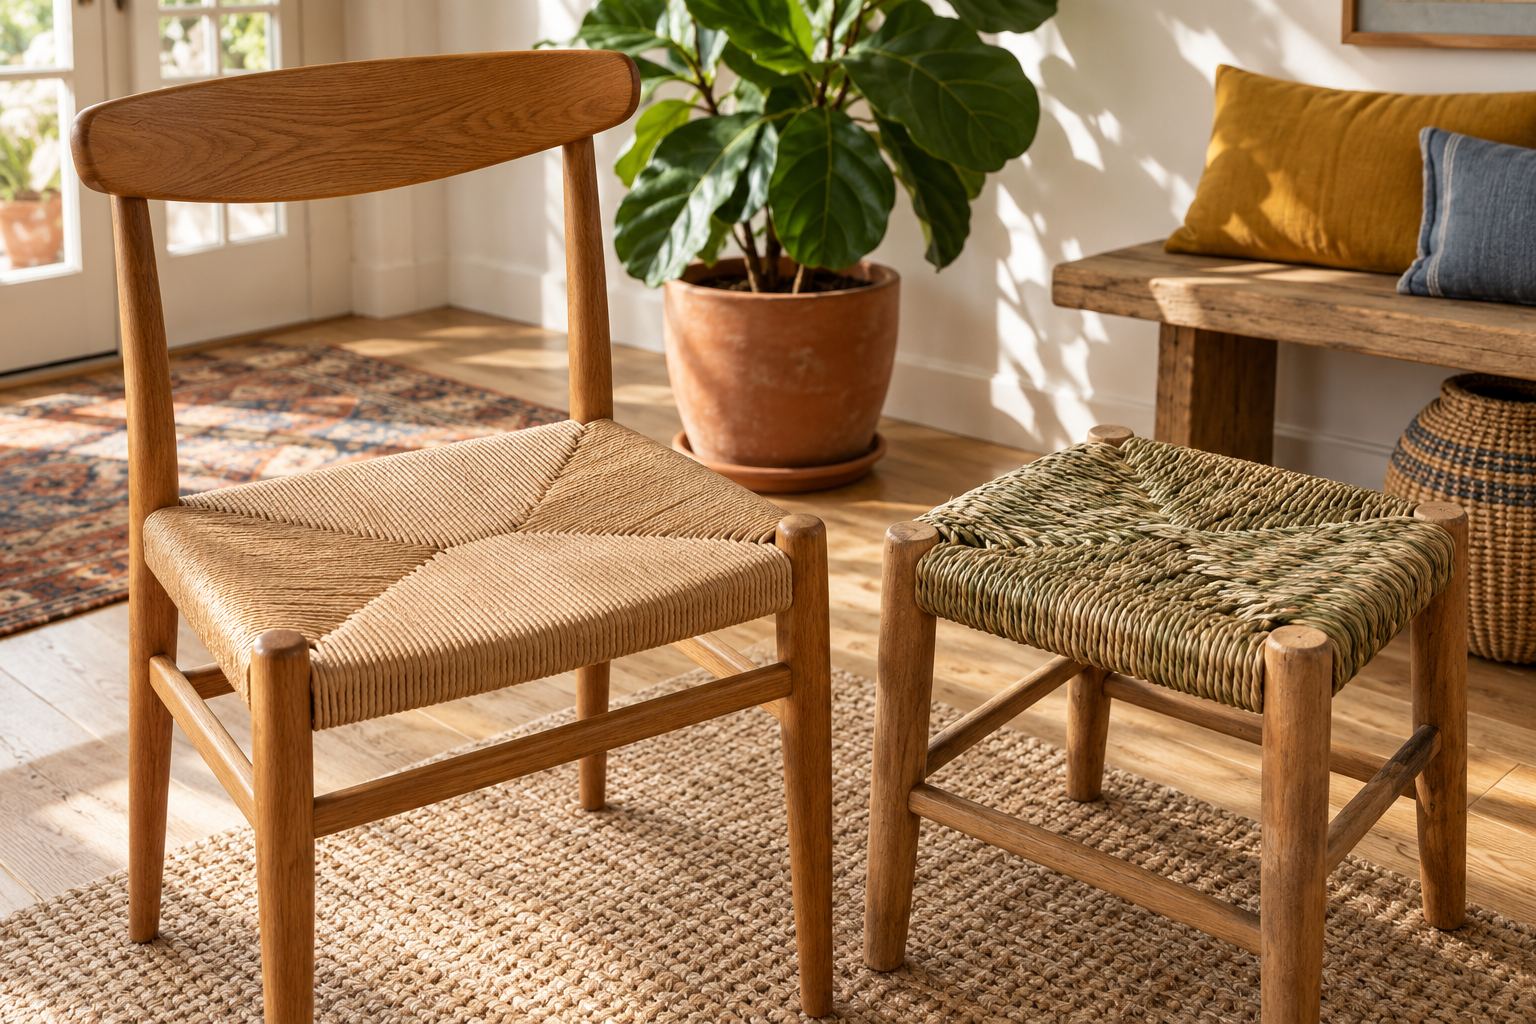
A Danish cord seat is woven in two stages. First a warp of paired cords runs from front to back, hooked over small L-nails on the inside of the rails, with a few wraps of cord covering the rail between each pair. Then a weft is woven from side to side through the pairs, and every end finishes under the seat. The cord is paper, so it is woven dry and pulled taut, never wet.
Everything you need for one chair is listed on the Danish cord seat project page. Plan on a long day for a chair seat, with breaks for your hands.
What you need
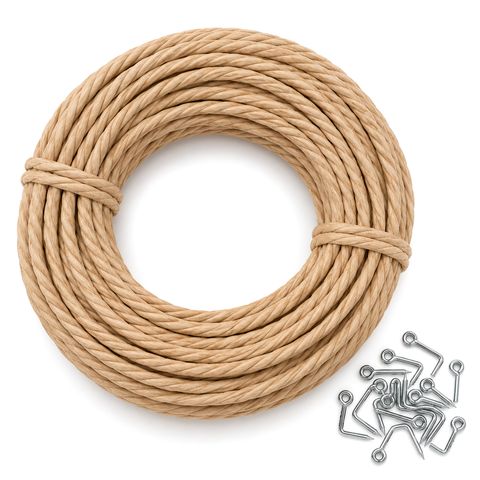
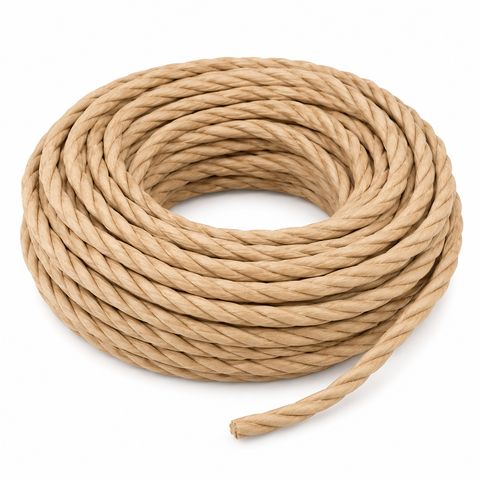
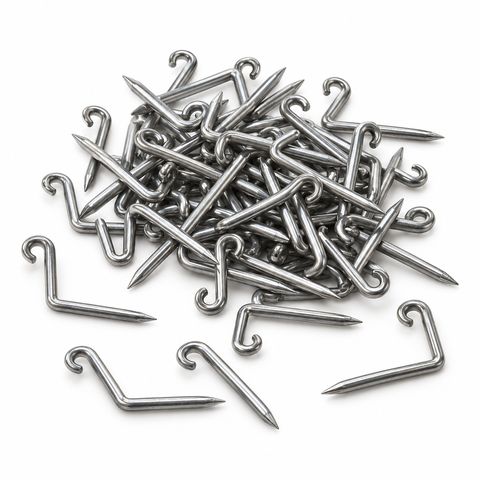
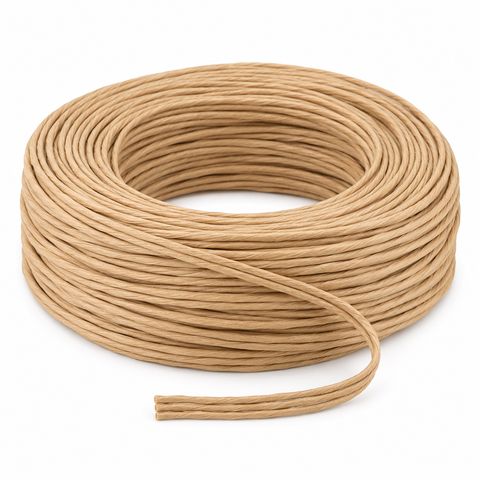
- Danish cord seat kit: a 2 lb coil (about 360 ft) of laced cord and 100 L-nails. Or buy laced Danish cord, or the flatter unlaced Danish cord, and L-nails separately.
- A light hammer and a nail set
- Pliers, for pulling old nails
- A utility knife and sharp scissors
- Two or three spring clamps, to hold the cord while you rest
- A drill and a 1/16 in bit, for any new nail positions
- A flat screwdriver or a blunt stick, to push rows together
- Masking tape, a pencil and a tape measure
How much cord, how many nails
Most dining chair seats take 1.5 to 2 lb of cord, so one 2 lb coil usually covers a seat. Armchairs, wide stools and benches take more; see how much seat weaving cord do I need.
A typical chair seat uses 30 to 50 L-nails. On a restoration, count the old nails or nail holes on all four rails and add a few spares for any that bend.
Step 1: Read the old weave
The old seat is your pattern. Photograph the top and the underside, then note:
- Which rails have nails. Nails on the front and back rails hold the warp. Many seats also have nails along the side rails, where the weft loops are hooked.
- How the warp is grouped. Count the cords in each warp group (usually a pair), the wraps around the rail between groups, and any difference next to the legs.
- How the weft runs. Is each row a single or a doubled cord? Does it go over one warp pair and under the next, or over two? Does each row reverse the one before it?
- Which way the hooks point. Copy the old direction. On most seats the hook points up.
If the old seat shows four triangles meeting in the middle, it was woven in the rush pattern and needs no L-nails: follow how to weave a seagrass seat, using Danish cord.
Step 2: Strip the seat and check the frame
- Cut the cord across the top with the utility knife and pull the pieces away.
- Lift each nail slightly with a screwdriver to free the cord loops underneath.
- Pull out bent, rusty or broken nails with pliers.
- Glue any loose joints now; the new seat pulls the rails together.
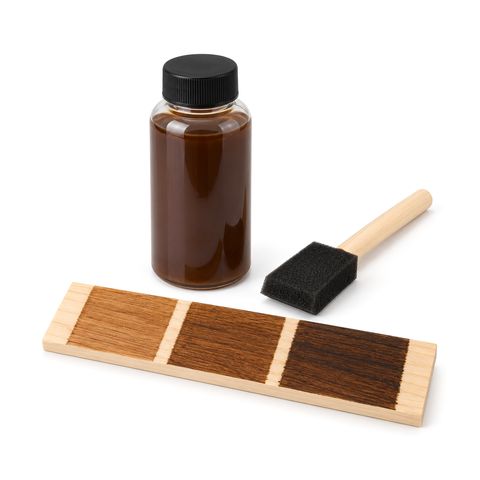
- If the frame needs refinishing, do it now. Once the cord wraps the rails, the wood under it cannot be reached.
The common mistake is cutting before photographing. Once the cord is gone, so is the pattern.
Step 3: Set the L-nails
On a restoration, put the new nails in the old positions. If a hole has worn loose, glue a sliver of wood into it, let it dry and drill a new pilot hole.
On a new frame, or a chair with no record of the old seat:
- Mark the center of the front rail and of the back rail.
- Plan an odd number of warp pairs, so the weft pattern comes out the same on both side rails. One pair sits on the center mark.
- Space the pairs about 7/8 to 1 in apart, center to center. That leaves room for four or five wraps of cord between pairs. Wrap a test section first, since the cord and the rail shape change the count.
- If the seat is narrower at the back, put the same number of nails on both rails and set the back ones closer together, so every pair runs straight from front to back.
- Drill 1/16 in pilot holes on the inside face of the rails, where the seat will hide the nails. Hardwood rails can split without them.
- Tap each nail in partway, hook up, so the cord can still slip on. You drive them home later.
Step 4: Wrap the warp front to back
Work straight from the coil; the warp is not cut to length.
- Anchor the end by weaving it over and under a few nails near a front corner. The next wraps trap it.
- Take the cord around the front rail and across the top of the seat, over the back rail and around under it, and hook it on the first back nail.
- Bring it back around the back rail, across the top to the front rail, around it, and hook it on the first front nail. These two passes make the first pair.
- Move on to the next nail and repeat, pair after pair, across the seat. At the legs, copy whatever the old seat did there.
Pull each pass taut, enough to take out the slack but not so hard that the cord strains. The weft firms the warp up later, so a warp that feels slightly soft now is normal.
Keep the cord from twisting, loop every nail the same way, and clamp the cord to a rail whenever you stop.
Step 5: Wrap the rails between the pairs
The gaps between warp pairs on the front and back rails are covered with tight wraps of cord. You can add them as you lay the warp, but filling them afterward with a separate length is easier on a first seat.
- Work out the length: wrap one gap, unwind it, measure what it took, multiply by the number of gaps on the rail and add a couple of feet.
- Fold that length in half and hook the fold on the center nail.
- Wrap toward one leg, laying each turn tight against the last, with the same number of turns in every gap. As you pass a warp pair, catch the cord behind its nail so the wraps stay square.
- At the leg, clamp the cord and weave the end over and under a few nails on the side rail.
- Wrap the other half toward the other leg, then do the back rail the same way.
- Tap the front and back nails home so the hooks trap the loops.
No wood should show between the wraps; if it does, that gap needs one more turn.
Step 6: Weave the weft side to side
- Anchor the cord near a front corner, over and under a few side rail nails or with a tack.
- Unless the old seat used a single cord, fold a loop long enough to cross the seat and weave with the double strand.
- Weave across the warp: over one pair, under the next, or as the old seat did.
- At the far side, take the cord over and around the side rail and hook it on the next side nail. On a seat without side nails, wrap the rail the way the old seat did.
- Push the row forward against the last one with the screwdriver, straight and untwisted.
- Weave the next row in the opposite order, under where the last row went over.
Check every row from above and below before you start the next; a skipped pair is easy to miss and hard to fix later. Keep the rows packed so no rail shows between them.
Step 7: Finish under the seat
The last rows near the back rail are tight. Lift the warp with the screwdriver, or pull the cord through with a bent piece of stiff wire.
- Hook the final loop on the last nail. If it will not go on, loosen the nail slightly; pliers help pull the last row tight.
- Weave the end over and under several nails along the rail, then cut it. A tack through the cord into the inside of the rail holds it for good.
- Tap every remaining nail home with the hammer and nail set.
- Turn the chair upright and push any uneven rows straight.
Care
Danish cord is usually left unfinished. Dust it or vacuum it with a brush, blot spills at once with a barely damp cloth, and keep the chair indoors. Never soak or scrub it.
To compare materials, see Danish cord vs fiber rush vs seagrass. The cord, nails and tools are listed together on the Danish cord seat project page.
 Water-Based Wood Stain for Chair Frames and Cane