How-to
How to restring a patio chair with vinyl lacing
Re-lace a mid-century patio chair with oval vinyl cord: count the wraps, soften the cord in hot water, fasten the start, wrap tight, finish underneath.
Updated
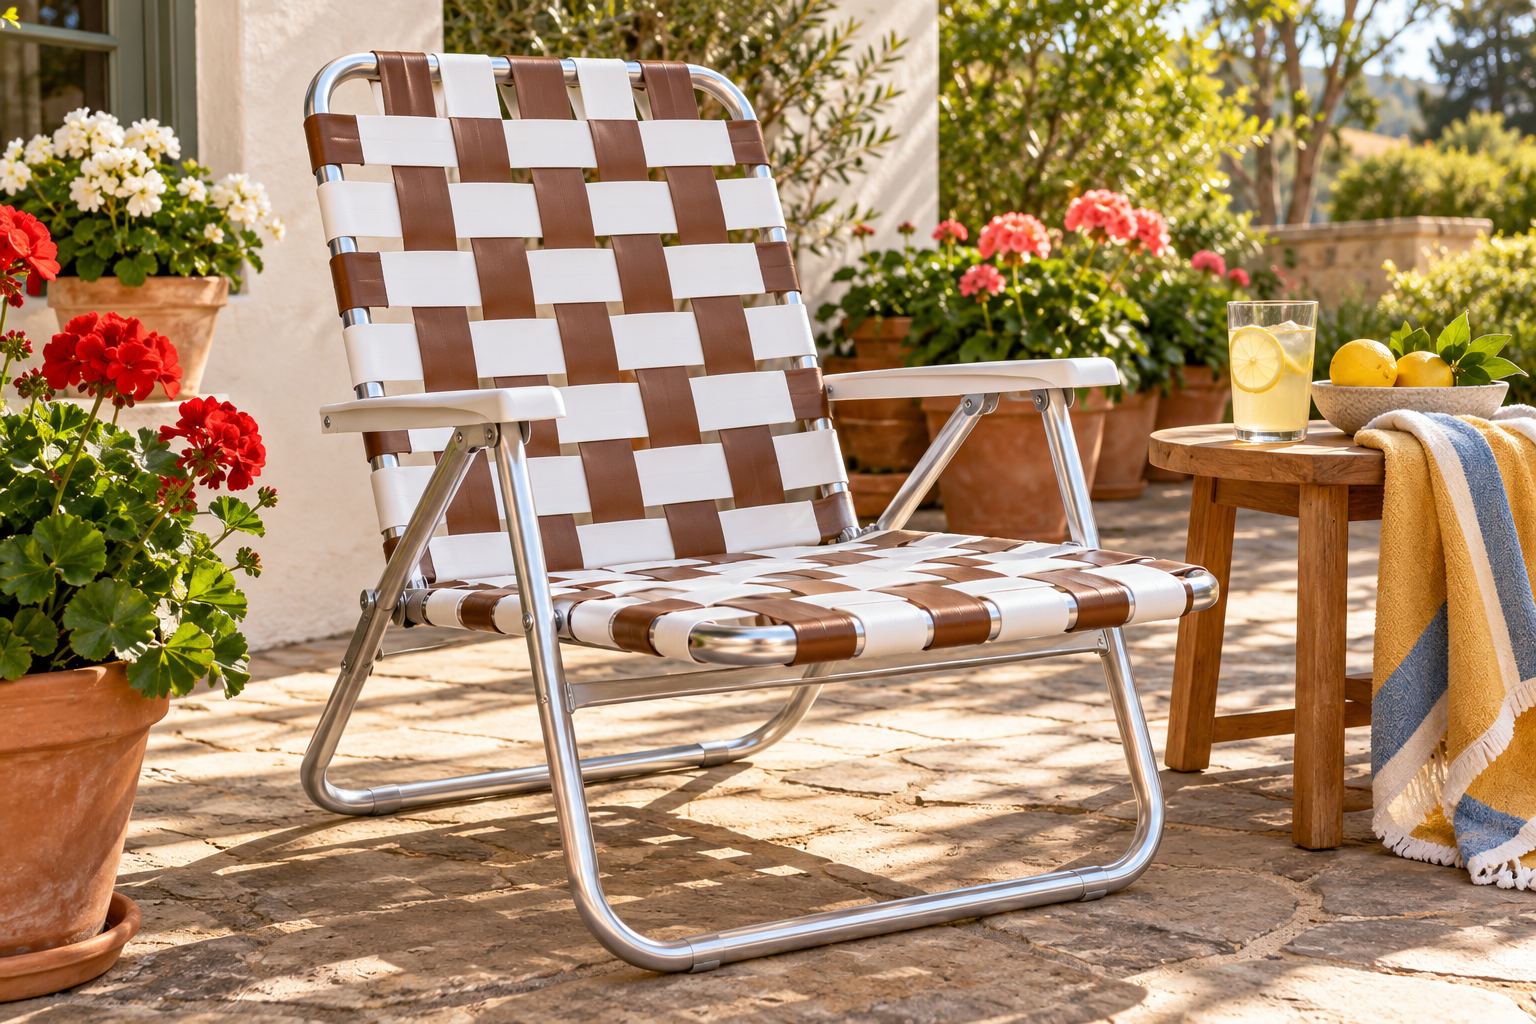
Many mid-century wrought iron and aluminum patio chairs were not strapped but laced: the seat and back are wrapped with vinyl cord that runs around the frame, row after row. When that cord cracks or snaps, the chair can be restrung. You soften new cord in hot water, fasten the start under the frame, wrap it tight in the old pattern and fasten the end underneath. The vinyl pulls tighter as it cools.
Everything you need is on the project page for fixing outdoor patio chairs.
Laced or strapped?
A laced chair is wrapped with a narrow cord that goes round and round the frame, many times. A strapped chair has wide flat straps, each one riveted at both ends, and needs vinyl strap instead. A chair whose fabric slides into slots in the rails is a sling chair.
Read the old pattern before you cut
The old lacing is your only pattern, so record it first.
- Photograph the seat and back from the top and from underneath, and close up at every corner.
- Count the wraps on the seat and on the back. Write the numbers down.
- Follow the cord around one rail and note how it goes. In a simple wrap, the cord passes over the seat, around the far rail, back underneath and around the near rail, and each wrap lies beside the last. Some chairs add a second layer woven over and under the first at right angles, and some run the cord on the diagonal.
- Find where each length of cord starts and ends under the frame, and how it is held: a screw, a clip, a rivet through a hole, or a knot. Keep any hardware that can be reused.
- Make a quick sketch with the wrap counts on it.
The mistake here is cutting first and planning later. A pattern you cannot see is hard to rebuild.
Work out how much cord
- Wrap a piece of string once around the frame, along the path one wrap takes, and measure it.
- Multiply by the number of wraps. Work out the seat and the back separately if their wraps differ in length.
- Add a little for fastening each end.
- Divide by 25 ft, the length of one coil of our oval vinyl lacing cord, and round up.
For example, 50 wraps of 34 in come to 1,700 in, about 142 ft, so six coils. One chair usually needs several coils. Order them all at once so you can finish the seat in one session.
What you need
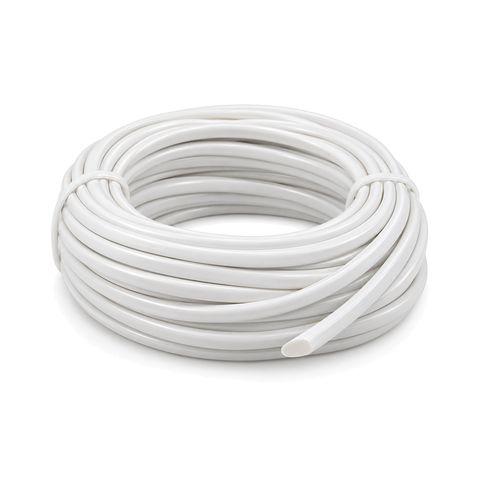
- Oval vinyl lacing cord, enough for the whole chair
- A large pot or tub of very hot water, tongs, heat-resistant gloves and an old towel
- A utility knife or sharp scissors
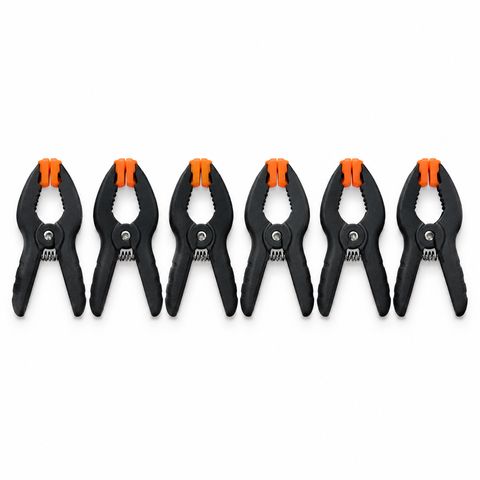
- Spring clamps to hold the cord on the rail while you work
- A screwdriver or drill and pliers for the old fasteners
- String, a tape measure and a pencil
- Metal paint for touch-ups, if the frame needs it
Strip and prepare the frame
Cut the old lacing off with a utility knife and remove the old fasteners. With the frame bare, wash it, sand off loose rust on wrought iron and touch up the paint; the new cord will cover the rails for years. Feel along the rails for sharp edges or burrs and file them smooth, because they can cut the cord as it tightens.
Mark the rails lightly with a pencil at even intervals, using your photos and wrap counts, so you can check your spacing as you go.
Soften the cord
Heat the water until it is very hot but not boiling. Soak a coil, or the length you will use in one go, until it bends easily. Wear gloves to handle it: the vinyl and the water are hot enough to burn. Work in short sections and put the cord back in the water whenever it stiffens. Cold cord is stiff, will not pull tight and can kink.
Fasten the start
Start where the old cord started, under the frame. Use the same method the chair had: a screw, clip or rivet through the hole in the rail. If the old cord was knotted, tie the new end around the rail with a tight knot, such as a clove hitch, and lay the short tail along the rail so the first few wraps cover it. A spring clamp holds the start in place while you make those wraps.
Wrap the seat
- Bring the warm cord over the top of the seat to the far rail.
- Wrap it around that rail the same way the old cord went.
- Bring it back underneath to the near rail and around it, then up and over again.
- Pull each wrap firm while it is warm, so it lies straight and tight against the one before.
- Keep the oval lying flat, the same face up, on every wrap. Do not let it twist.
- Check your pencil marks every few wraps. Wraps that bunch together or drift apart are easy to fix now and hard to fix later.
If your chair has a second, woven layer, finish the first layer, then weave the second over and under it, exactly as the photos show. For a diagonal pattern, follow the photos wrap by wrap and count as you go.
Join the coils
When a coil runs short, finish it under the frame at a rail and fasten the end there. Start the next coil at the same spot, so the join is hidden underneath and the wraps on top run unbroken. Never join two lengths in the middle of the seat.
Finish and let it cool
Fasten the last end under the frame the same way as the start, and trim the extra. Then leave the chair alone until the cord has cooled completely. Vinyl shrinks back as it cools, and that is what makes a laced seat firm. Do the back the same way.
If something goes wrong
- Loose after cooling: the wraps were not pulled firmly enough while warm. Unwrap that section back to a fastening point, reheat the cord and wrap it again.
- Twisted cord: the oval rolled over. Reheat that wrap, turn it flat and pull it again.
- Cracks or kinks at a bend: the cord was bent while too cool. Cut back to sound cord, fasten the end under the frame and start a new length.
For straps, rivets, sling spline, cords and lacing in one place, see the fix outdoor patio chairs project, or browse outdoor furniture repair.
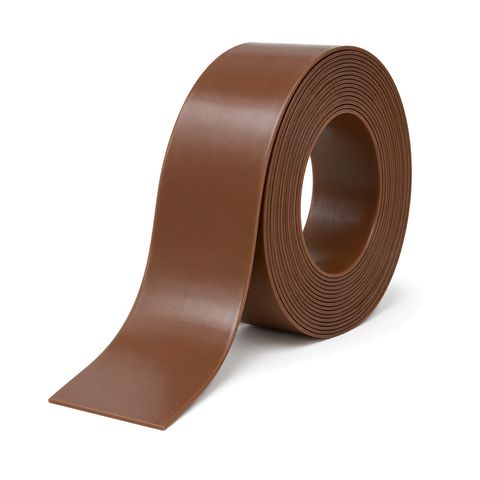 Vinyl Straps for Patio Chairs
 Patio Strap Rivets for Vinyl Chair Straps