How-to
How to cut a spline groove with a router and straight bit
Rout a spline groove into a new or assembled frame with a straight bit, a template and guide bushing or an edge guide. Find the depth on scrap first.
Updated
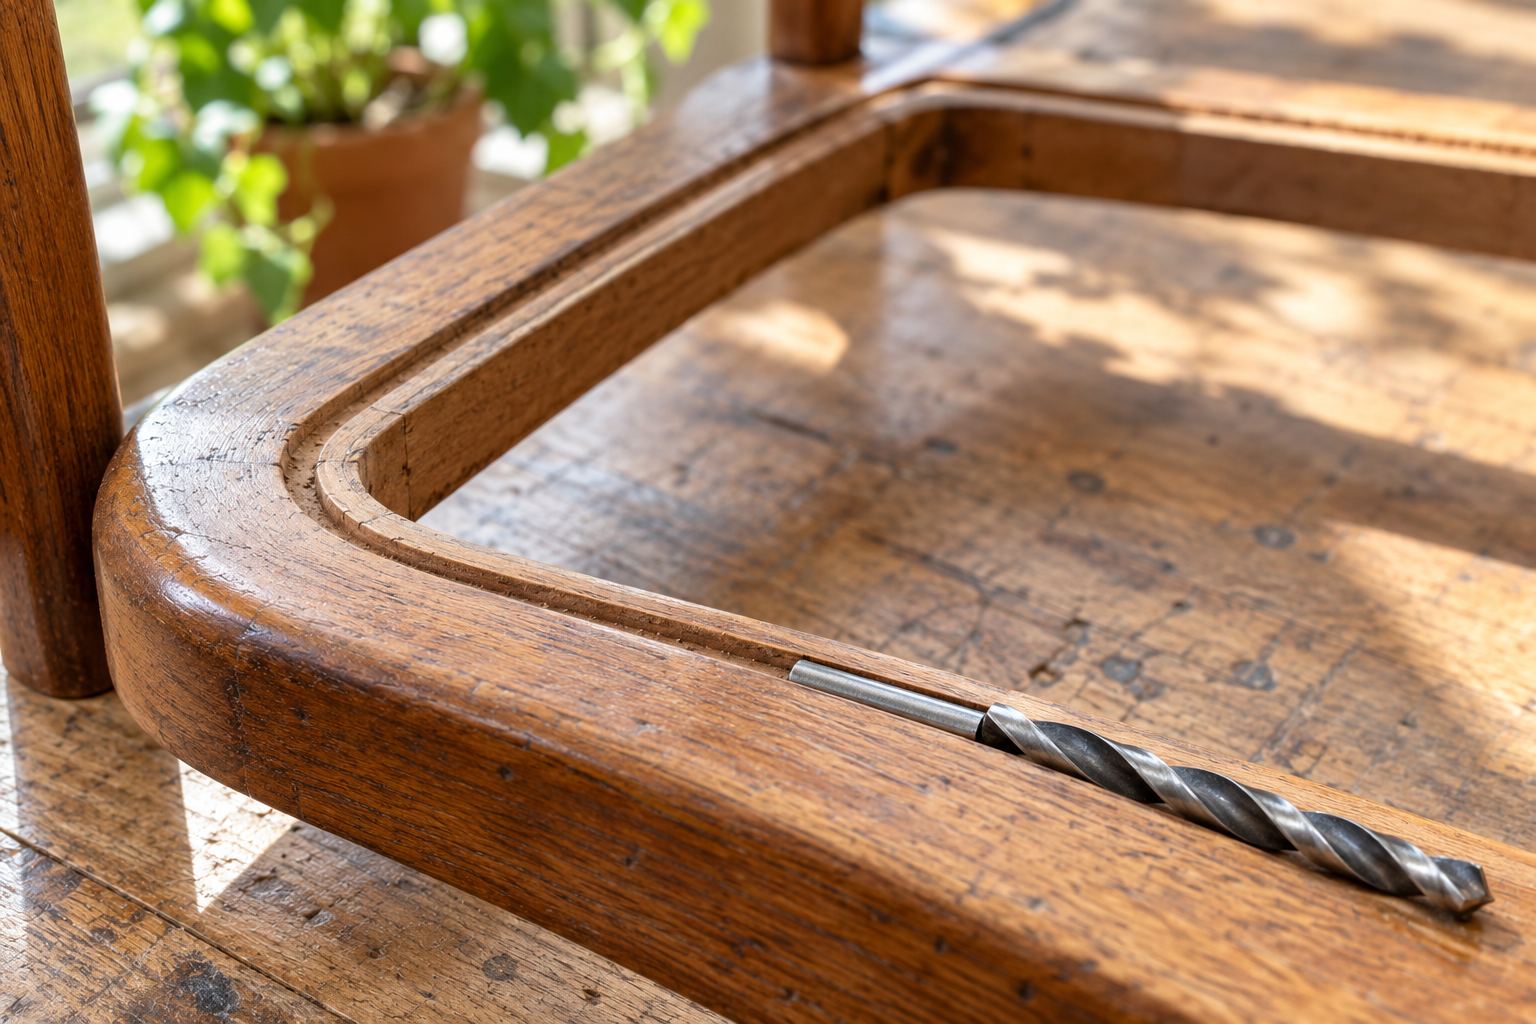
A spline groove is a narrow slot cut down into the face of a frame, set back from the opening, that holds pressed cane and reed spline. To cut one, match a straight bit to your spline, mark the groove line, and guide a plunge router with a template and guide bushing, or with an edge guide on straight sides. Find the depth on scrap, then cut in several shallow passes.
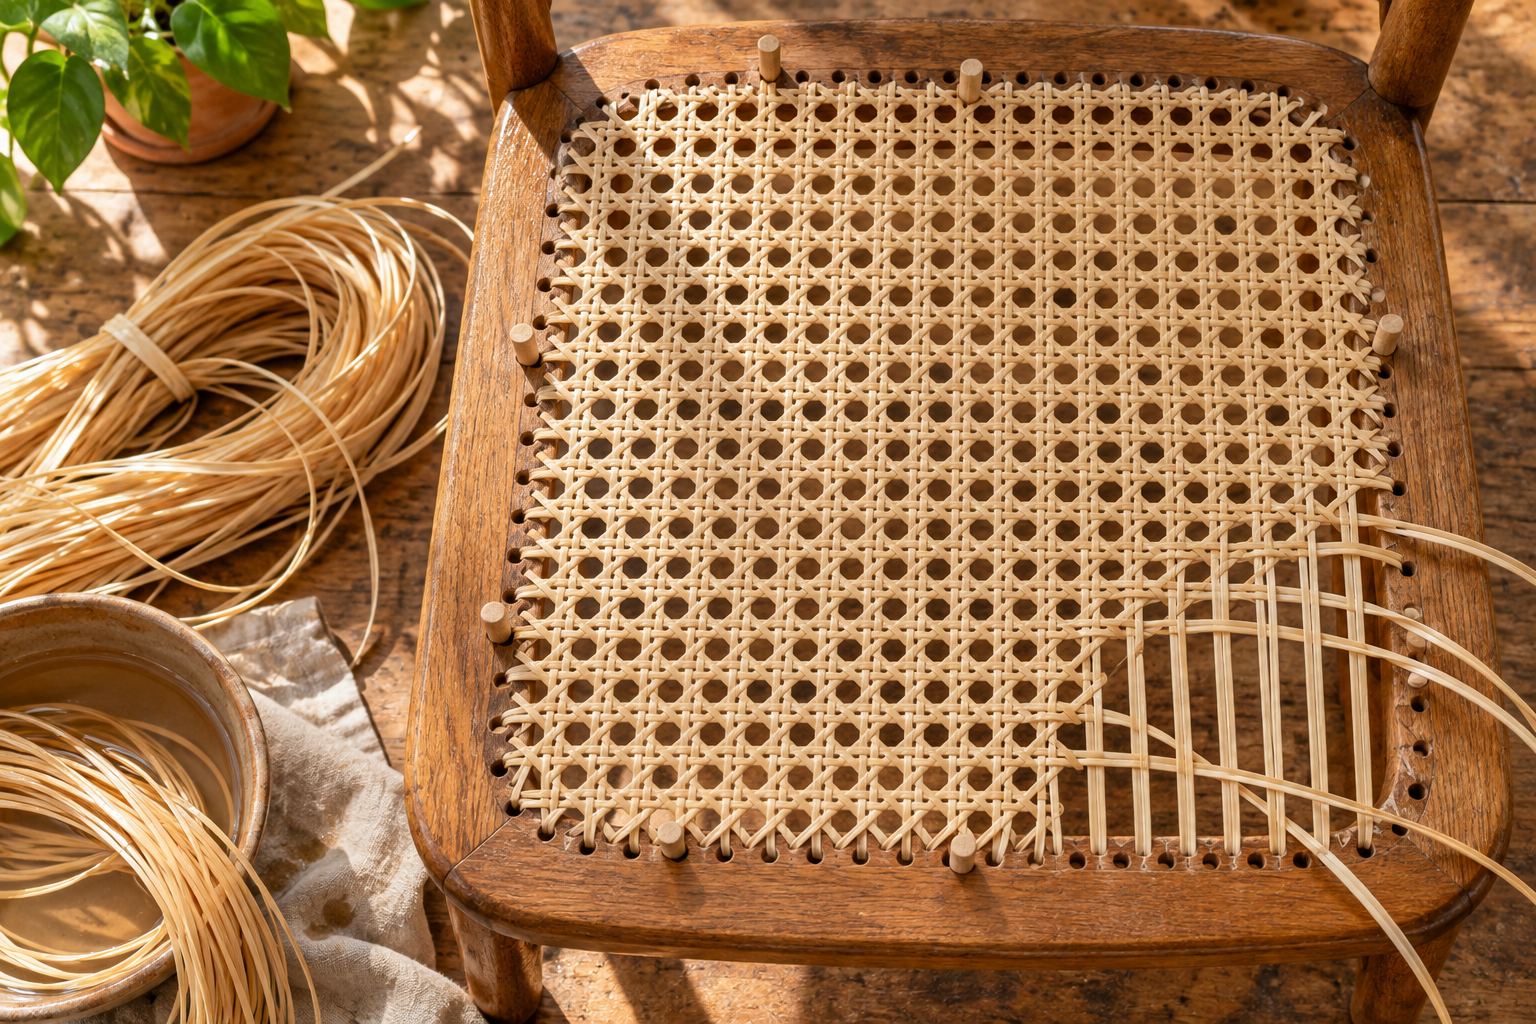
Because a straight bit plunges straight down, it works on a frame you are building and on one already assembled, such as a chair seat or cabinet door that never had a groove. A chair that already has a groove only needs cleaning with a caning chisel; see how to remove old spline and cane. Everything else for the seat is on the replace a pressed cane seat project page.
What you need
- A plunge router with a 1/4 in collet and a base that takes a template guide bushing
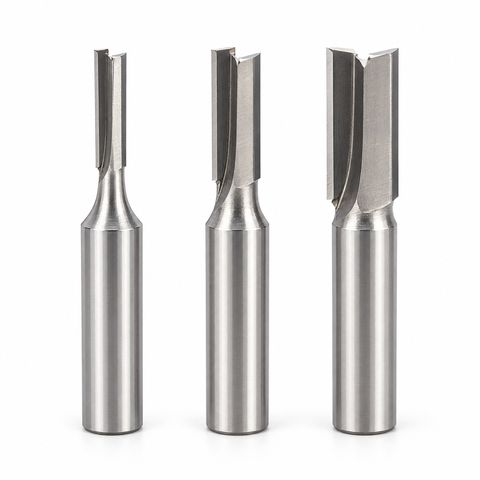
- A straight router bit for spline grooves in the width that matches your spline
- A template guide bushing (not sold by us), or the router’s edge guide
- Hardboard or MDF for the template, and double-sided tape or clamps
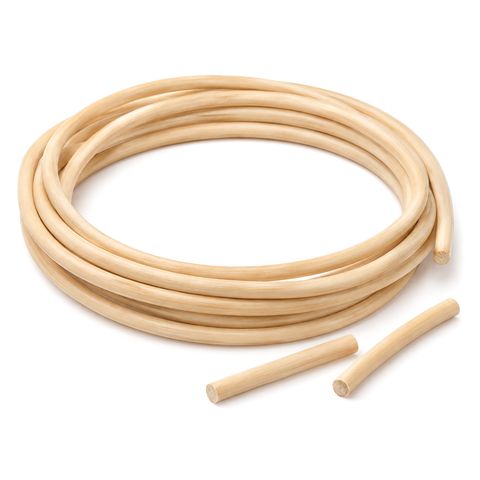
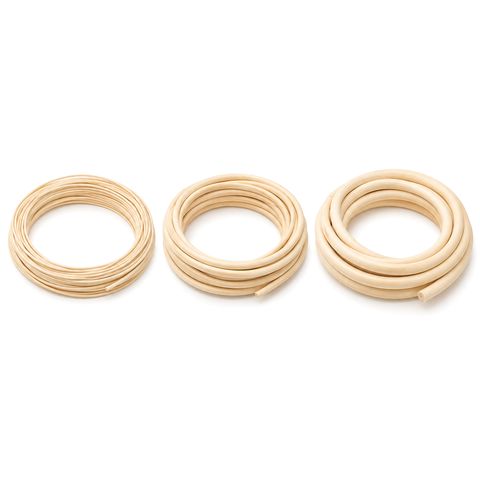
- Reed spline in the matching size, or the spline sampler set
- Scrap of the frame wood, a scrap of cane webbing and a few caning wedges for the test fit
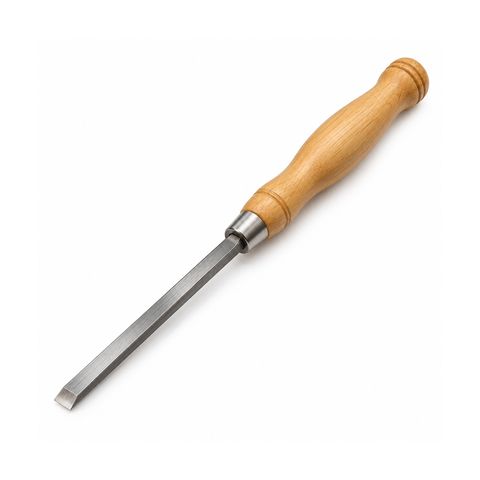
- A sharp narrow chisel for squaring corners
- Eye protection
Step 1: Choose the bit from the spline
Pick the spline first. The width of the bit is the width of the groove.
| Bit (groove width) | Spline |
|---|---|
| 1/8 in | #7 |
| 3/16 in | #8 |
| 1/4 in | #9 |
A slot cutter, which cuts sideways into the edge of a board, is not the tool for a groove in the face of a frame. The reed spline size chart lists every size, and the spline finder turns a groove width into a spline size.
Step 2: Mark the groove line
Leave at least 1/4 in of solid wood between the edge of the opening and the inner wall of the groove, and more on a seat that takes weight or in soft wood. Too little, and the edge splits when the spline goes in. Or copy the spacing on a chair or door you like.
- Draw the inner wall of the groove all the way round. On straight sides, use a combination square. On curves, set a compass to the distance and slide its point along the edge of the opening while the pencil marks the frame.
- Draw a second line one bit width further out. That is the outer wall.
- Check that solid wood remains outside the groove and that your cane will reach: cane webbing is cut to the outer edge of the groove plus 2 in each way. See how much cane webbing do I need.
Step 3: Make a template
A template is a sheet of hardboard or MDF, larger than the frame, with a window cut in it. The router rides on the template, the guide bushing runs around the inside edge of the window, and the bit, centered in the bushing, cuts a fixed distance in from that edge.
How the bushing offset works
The bushing is wider than the bit, so the cut never lands right at the template edge. The gap between the template edge and the near wall of the cut is the offset:
offset = (bushing outside diameter − bit diameter) ÷ 2
For example, a bushing with a 5/8 in outside diameter and the 1/4 in bit: 5/8 − 1/4 = 3/8 in, and half of that is 3/16 in. Measure your own bushing; sizes vary. The window is your outer-wall line moved out by the offset all the way round.
- Trace the outer-wall line onto the template material.
- Draw a second line one offset outside it. Cut the window with a jigsaw just inside that line, then file and sand to it.
- Check that the bit turns freely inside the bushing, and that the template is thicker than the bushing’s collar is long; a longer collar scars the frame.
- Mark the center of each side on the template and the frame so they line up.
Or skip the math: rout along a straight edge of template material on scrap and measure from that edge to the near wall of the cut.
Corners
- Rounded corners. Round the corners of the window. The groove’s outer wall comes out one offset tighter than the template’s curve. Spline cracks on very tight curves, so keep them generous.
- Square corners. Leave the window square. The bit leaves a small round in the outer corner of the groove; pare it square with a sharp chisel. The spline is then cut at each corner, the pieces meeting in a neat miter.
Step 4: Set the depth on scrap
- Unplug the router. Fit the bushing and the bit, and tighten the collet fully on the shank.
- Set the plunge depth stop a little deeper than your spline is tall, to leave room for the cane folded under it and a little glue.
- Rout a test groove in scrap exactly as you will cut the frame. With a template, put a piece of template material under the router, since depth is measured from its top.
- Soak a short piece of spline for 10 to 15 minutes and a scrap of cane webbing for about 30. Wedge the cane into the test groove and tap the spline in over it.
The right fit needs firm tapping and finishes flush. If the spline stands proud, go a little deeper; it does not need to touch the bottom. If it drops in loose, try the next spline size up. Adjust on the scrap, never on the frame.
Step 5: Rout the groove in shallow passes
- Fix the template with tape or clamps, lining up the center marks, and clamp the work so it cannot move, clamps clear of the router’s path.
- Set the router on the template with the bushing against the window edge. Switch on and let it reach full speed.
- Plunge to a shallow first depth, lock it, and move clockwise around the window, the usual direction inside an opening, keeping the bushing pressed to the template edge.
- Lower the bit a little and go round again until you reach the depth stop. Take especially light passes with the 1/8 in bit, which breaks if forced.
- Let the plunge spring lift the bit out, switch off, and wait for the bit to stop before lifting the router.
Full depth in one pass burns the wood and snaps thin bits.
Straight sides: use an edge guide
On a cabinet door or rectangular panel wide enough to support the router base, you can skip the template and use the router’s edge guide.
- Set the guide so the bit lines up with your groove, measured from a straight edge parallel to it: the opening or the outside of the frame.
- Mark where each side ends at the corners. Plunge at one mark, rout to the next, and stop.
- Feed in the direction that pulls the fence against the edge. If the router drifts away from the edge, reverse.
- Cut every side at one depth before lowering the bit.
- Pare the round ends square at the corners.
Clean up and test fit
Clear the chips. Lightly round the top inside edge of the groove and the edge of the opening with fine sandpaper, so neither cuts the cane as it tightens. Test-fit a short piece of soaked spline along each side. It should tap in snug and sit flush all the way; a tight spot usually means a chip or a bump in the template.
On new work, build the frame stiff and from hardwood. Drying cane pulls hard and can bow thin sides inward.
Safety
- Unplug the router before you change or adjust the bit or bushing.
- Keep the guards on and both hands on the router.
- Wear eye protection; hearing protection is wise too.
- Clamp the work and the template.
After the groove
When the groove is cut, the cane goes in as in how to replace a pressed cane seat; the replace a pressed cane seat project page lists the cane, spline and tools. For doors, the add cane to cabinet doors project page covers fixing cane to the back of the frame; a routed groove lets you press it into the face instead. Browse all reed spline and caning tools.