How-to
How to re-lace a zero gravity chair with new cords
Replace stretched or snapped bungee laces on a zero gravity recliner: count the old cords, cut them one at a time, thread, tension and knot the new ones.
Updated

A folding zero gravity recliner holds its fabric to the frame with elastic bungee cord, threaded through eyelets along the edge of the fabric and through holes in the frame. After a few seasons the cord stretches out and the seat sags, or it snaps and one side lets go. You can re-lace it with new cord in an hour or two: count the old laces, replace them one at a time, and copy the old path exactly.
Everything you need is on the project page for fixing outdoor patio chairs.
How these chairs are laced
The fabric is not fixed to the frame directly. On each side, a cord zigzags between the eyelets in the fabric and the frame, and its stretch is what lets the seat give when you sit down. Chairs differ in the details:
- Some use one long cord down each side. Others use a separate cord for each part, such as the back, the seat and the leg rest.
- On some chairs the cord passes through a hole in the frame tube; on others it wraps around the tube.
- Some chairs are double-laced, with the cord passing through each hole twice.
- The ends may be knotted, or finished with small metal clips.
This is why we do not give a cord count for “a typical chair”. Your chair tells you.
Count the old laces first
Do this before you cut anything, while the old cords still show the path.
- Open the chair upright, not reclined, on a flat surface.
- On one side, follow each cord from one end to the other. Put a piece of tape on the frame where it starts and where it ends.
- Count the cords on that side, and write down which part of the chair each one holds.
- For each cord, count the eyelets and frame holes it passes through, and note whether it goes through any of them twice and whether it wraps around the tube.
- Do the same on the other side. The sides usually mirror each other, but check.
- Photograph both sides close up, including the knots or clips at each end.
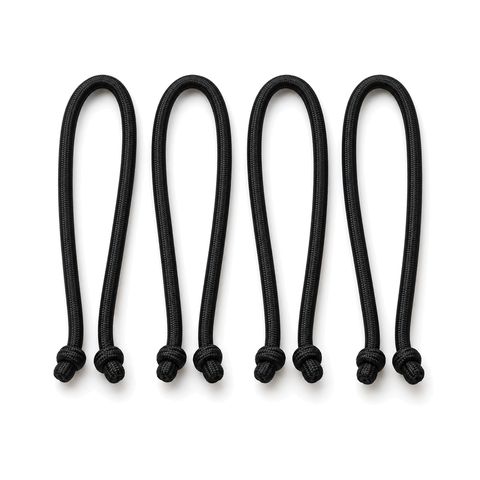
Now compare your count with what you have. Our zero gravity chair cords come four to a pack. If your chair has more cords than that, or each side needs more than you have, order before you start rather than leaving the chair half laced.
What you need
- Replacement zero gravity chair cords
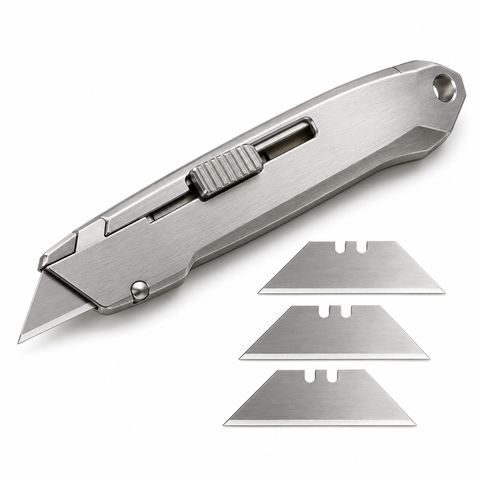
- Scissors or a utility knife
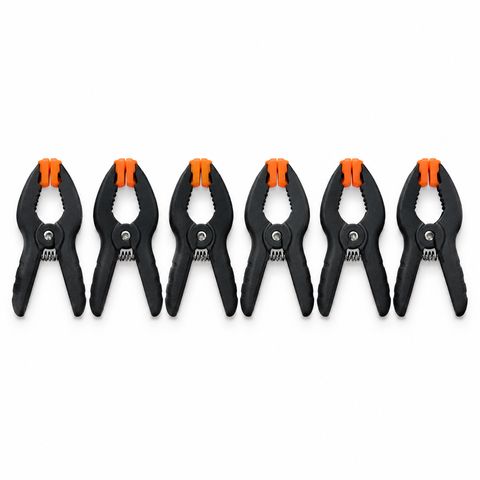
- A few zip ties or spring clamps to hold the fabric still
- Tape, or a lighter, to stiffen the cord ends
- A crochet hook or a bent piece of stiff wire, to pull cord through tight holes
- A small file, for any sharp edges on the frame holes
Step by step
Work on one cord at a time, and leave everything else laced. The cords you have not touched hold the fabric in place and show you the path.
- Hold the fabric. Fix the fabric to the frame at a few points near the cord you are replacing, with zip ties or spring clamps, so it does not shift while the cord is out.
- Cut out the old cord. Cut the knots or open the clips, and pull the old cord out of the eyelets and holes.
- Check the holes. Run a finger around each frame hole and eyelet. File off any sharp burr on the frame, because it will saw through new cord. A torn eyelet passes the load to its neighbors, so note it.
- Prepare the end. Stiffen the starting end with tape or a quick melt so it threads easily. Tie a stopper knot in it, or tie it to the frame where the old cord started.
- Thread the cord. Pass it through the first eyelet and the matching frame hole, then on to the next, in the same order and the same direction as the old cord: if the old one went around the outside of the tube, so does the new one.
- Snug it as you go. Pull each loop just firm enough to take up the slack. Do not stretch it hard at this stage. The most common mistake is to pull the first loops tight and the last loops loose, so the seat sags at one end.
- Tie a temporary knot at the last hole, such as a slip knot you can undo.
- Sit in the chair. Recline it, sit up, shift your weight. If one section sags, work slack along the side from that section toward the end. If the fabric puckers around the eyelets, let some out.
- Tie the final knot. Pull it hard against the frame, trim the end, leaving a short tail, and seal it with tape or a quick melt.
- Remove the zip ties or clamps from that section and move on to the next cord.
When you do the second side, match the first. Look at the gap between the fabric edge and the frame tube at a few points along each side: the gaps should match from side to side.
Mistakes to avoid
- Cutting all the old cords at once. The fabric shifts and you lose the path. Replace one cord at a time.
- Over-tightening. Very tight cord makes a hard seat and can tear the eyelets out of the fabric.
- New cord on one side only. If both sides have stretched, replace both, so the seat sits level.
- Skipping a hole. Count as you go. One missed hole puts extra load on its neighbors and shows as a ripple in the fabric.
- A knot that pulls through. If a knot slips into the frame hole, tie a bigger stopper knot or tie the end around the tube.
Other patio chairs
If the fabric slides into a channel in the frame instead of being laced, it is a sling chair: see replacing a patio chair sling. For flat vinyl straps, see replacing vinyl straps on patio chairs. For cords, straps, rivets and spline in one place, see the fix outdoor patio chairs project, or browse outdoor furniture repair.
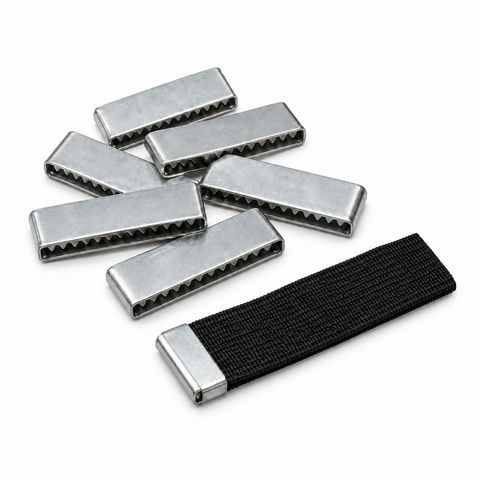 Metal Clips for 2 in Elastic Chair Webbing