Materials
Cane webbing vs hand caning: which does your chair need?
A groove means cane webbing, a row of holes means hand caning. How to tell, plus the time, skill, tools and materials each method takes.
Updated
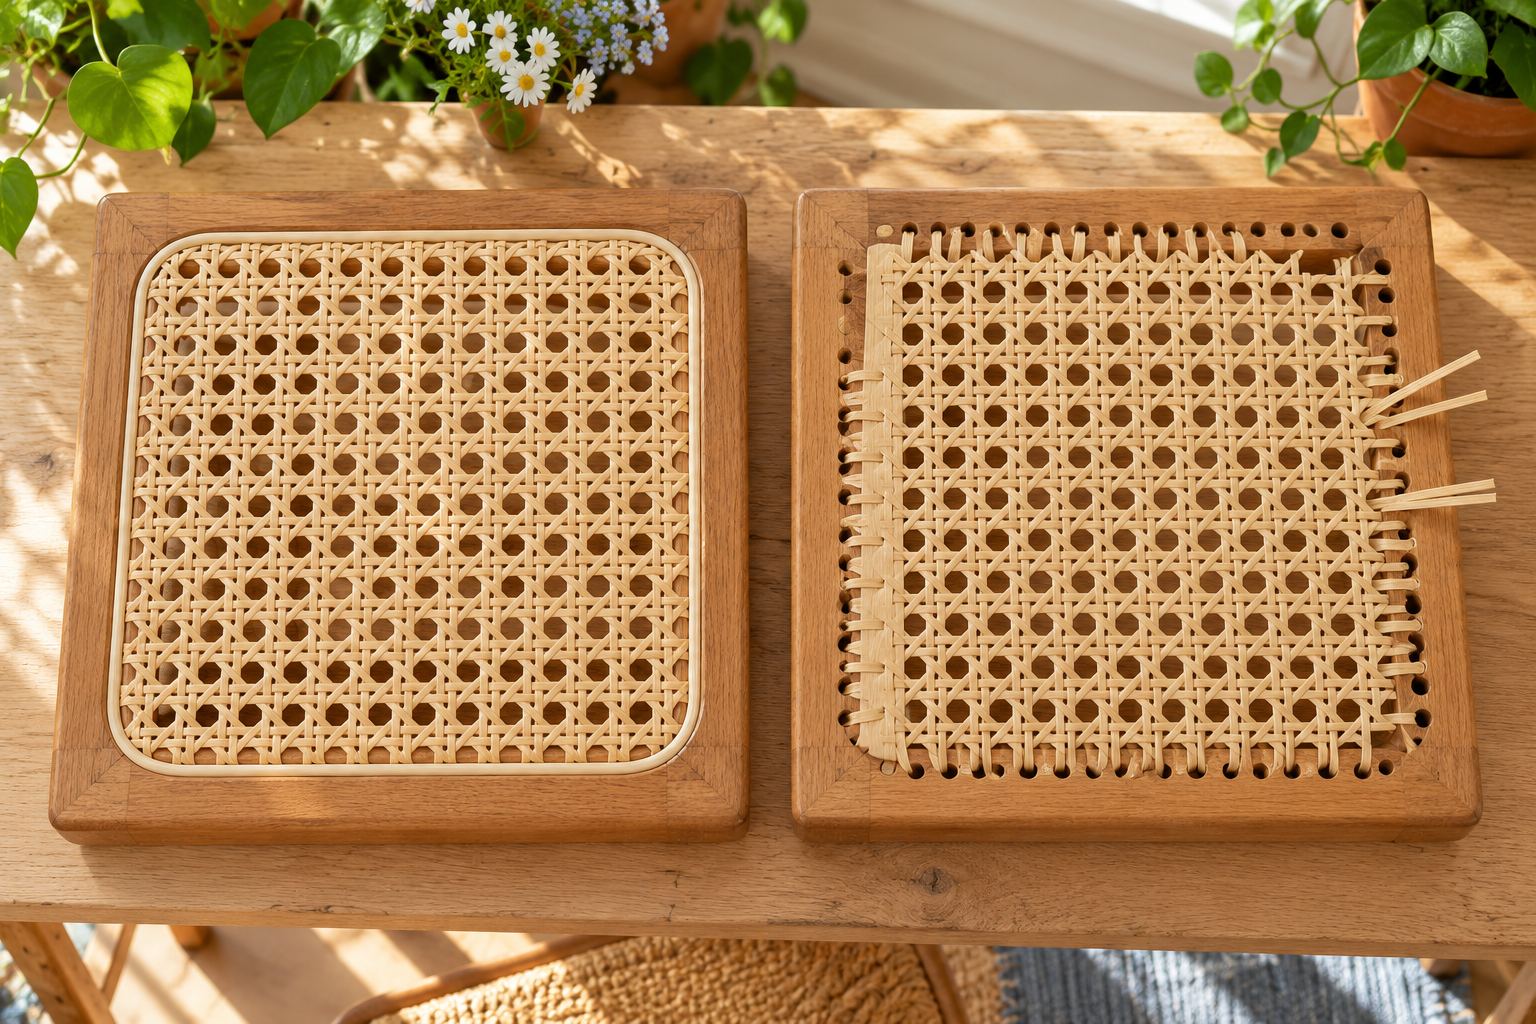
“Caned chair” covers two different builds. One has a sheet of machine-woven cane pressed into a groove. The other has cane strands woven by hand through a row of holes. They use different materials, take different amounts of time, and are not interchangeable. The good news is that you do not have to choose. Your chair has already chosen for you.
The 30-second check
Look closely at the edge of the seat, where the cane meets the wood.
| What you see | What it is | What you need |
|---|---|---|
| A narrow channel around the seat with a rounded strip in it, and the cane disappearing into the channel | Pressed cane (machine-woven webbing) | Cane webbing, reed spline, glue |
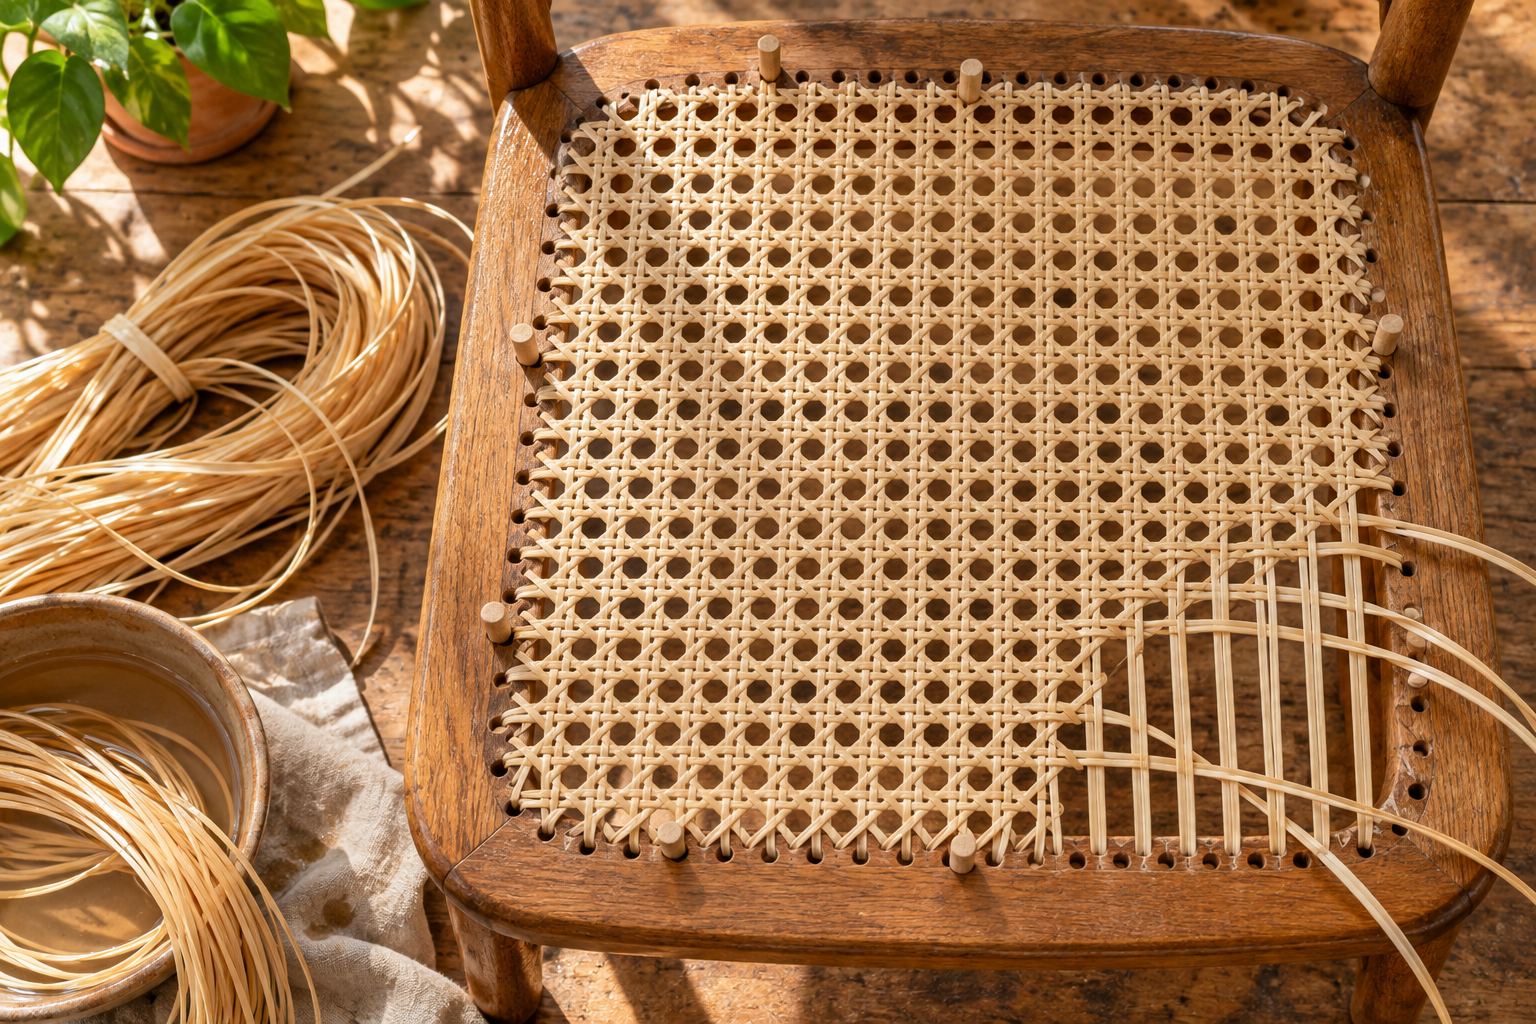
| A row of small holes drilled through the frame around the seat, often covered by a wide flat strand | Hand caning (strand cane) | Strand cane, binder cane, pegs |
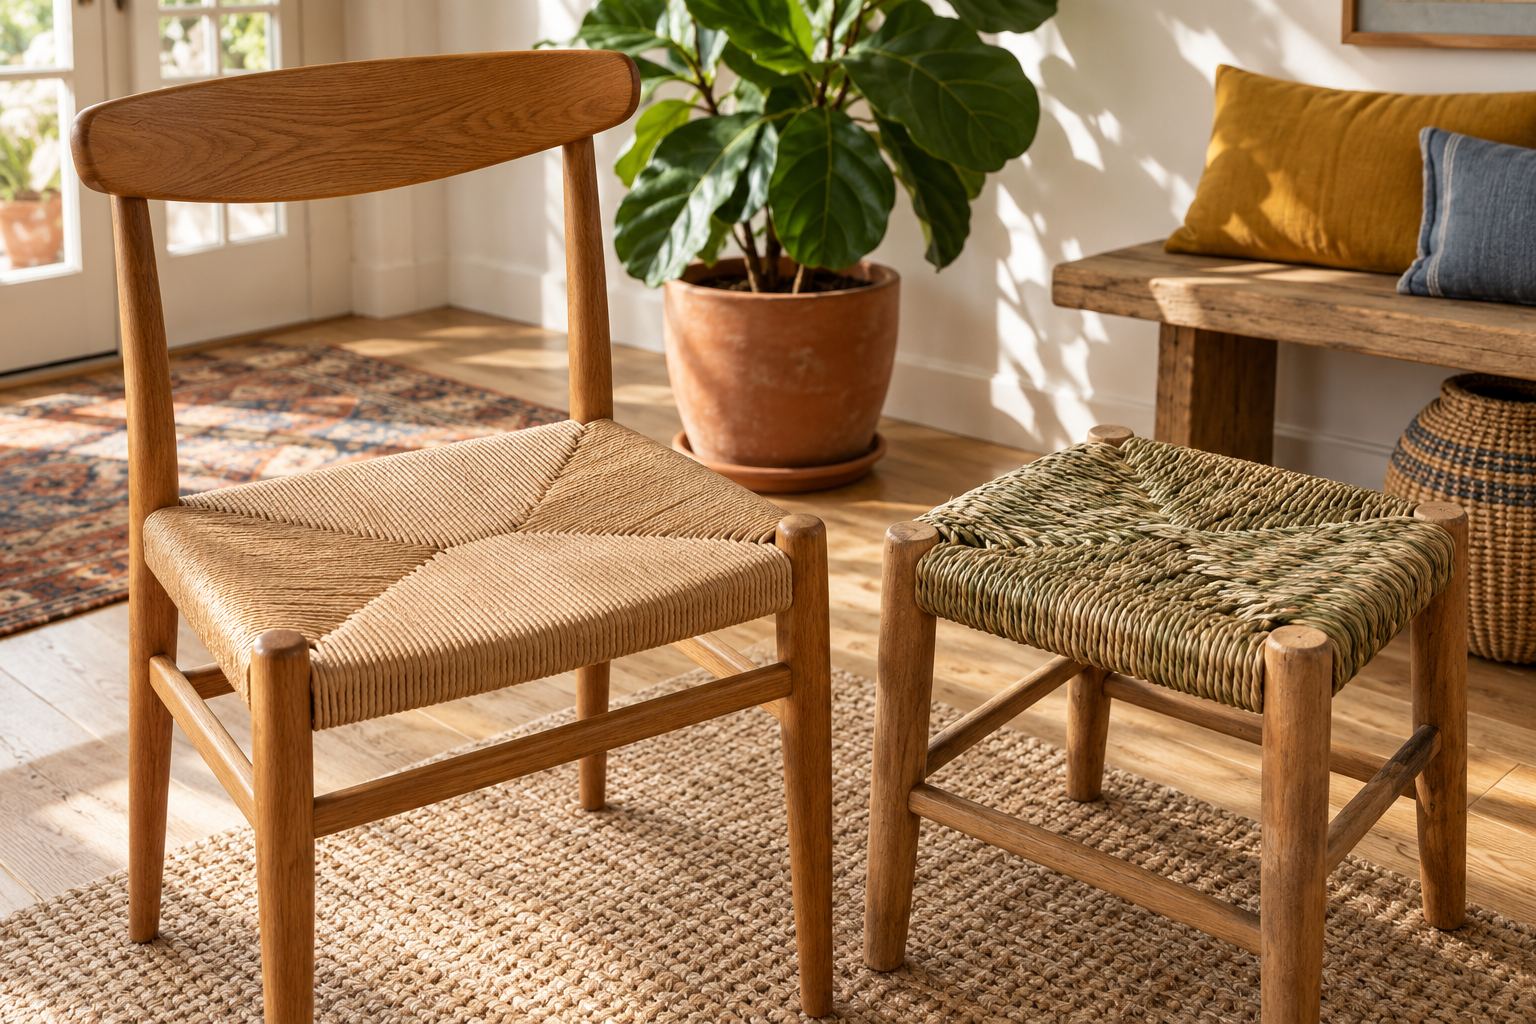
| No groove and no holes; the seat is woven around four rails | A woven seat, not cane | Fiber rush, Danish cord or seagrass |
If the seat is still there, turn the chair over. On a hand-caned seat you will see loops of cane running between the holes underneath. A pressed seat shows only the frame underneath, because the groove is cut into the top.
If the old seat is already gone, it is even easier. Holes are obvious. A groove looks like a narrow slot routed into the top of the frame, usually 1/8 to 5/16 in wide.
How each method works
Pressed cane (cane webbing)
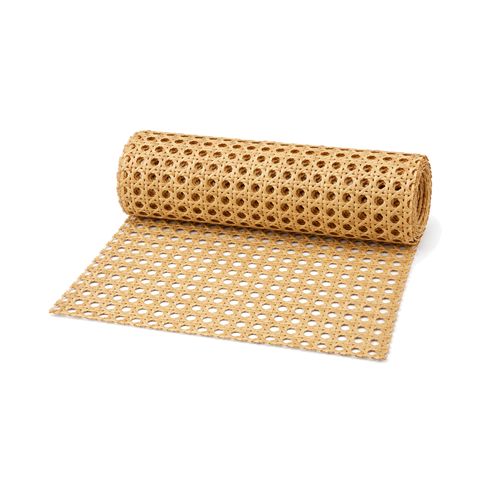
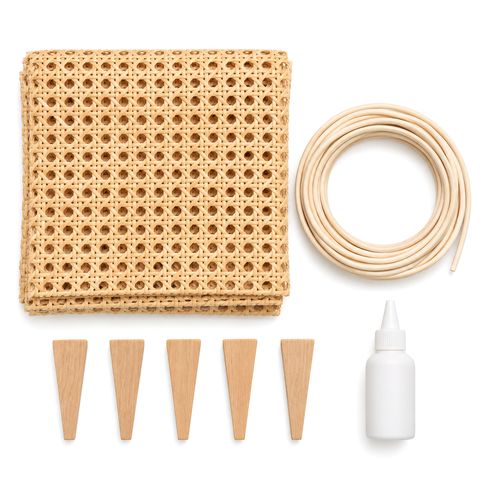
Cane webbing is woven by machine into a continuous sheet. You soak a piece, lay it over the seat, push its edges into the groove with wedges, and lock it in with glue and a strip of reed spline. One sheet makes the whole seat. Open weave webbing has the octagonal pattern most people picture when they think of a caned chair.
Our step-by-step guide to replacing a pressed cane seat covers the full job.
Hand caning (strand cane)
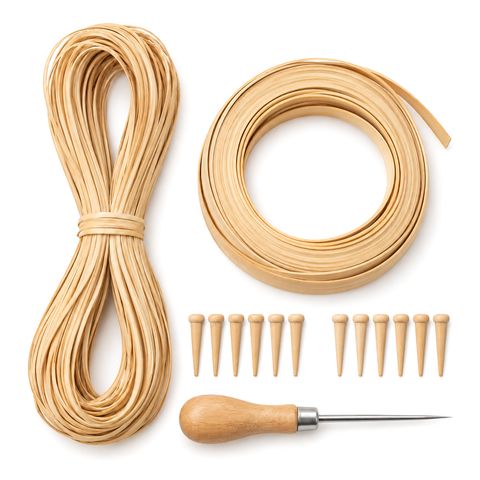
Hand caning weaves long, thin strands of cane through the holes, one pass at a time. The traditional pattern has seven steps: two layers running front to back, two running side to side, two diagonals, and finally a wide binder strand laid over the holes around the edge. Wooden pegs hold the strands in the holes while you work.
The strand size depends on the hole diameter and the spacing between holes. Our guide to hand caning a chair seat has the size chart and the full pattern.
Side by side
| Pressed cane | Hand caning | |
|---|---|---|
| Chair has | A groove | A row of holes |
| Hands-on time, average seat | An hour or two, plus soaking and an overnight dry | Commonly 6 to 12 hours of weaving; a first seat often takes longer |
| Done in one sitting | Usually | Usually spread over several sessions |
| Learning curve | Gentle; a careful first-timer gets a good result | Steeper; the pattern takes practice |
| Main materials | One sheet of cane webbing, reed spline, wood glue | A hank of strand cane, binder cane |
| Tools | Caning chisel, wedges, mallet, utility knife | Pegs, an awl, scissors or a knife |
| Edge of the seat | Rounded spline in a groove | Binder cane covering the holes |
| What you measure | Seat size and groove width | Hole diameter and hole spacing |
Pros and cons
Cane webbing
- Pros: fast; forgiving; one sheet makes the whole seat; easy to measure for; the same webbing and skills work on cabinet doors and headboards.
- Cons: only works where there is a groove; you need the right spline size; a damaged seat is replaced as a whole sheet.
Hand caning
- Pros: the correct way to restore any chair with holes; follows odd and curved seat shapes, because you weave from hole to hole; a satisfying traditional craft.
- Cons: much slower; more steps to learn; strands must be kept damp as you go; easy to lose count of the pattern on a first seat.
Time, in practice
A pressed seat is an afternoon project. Most of the clock time is waiting: about 30 minutes for the cane to soak and a night for it to dry. The hands-on part, from the first wedge to the last tap on the spline, is often around an hour for someone who has done it before and a bit longer for a first seat.
Hand caning is measured in hours of weaving. Estimates of 6 to 12 hours for an average dining chair seat are common, and first-timers should expect to be at the slower end or beyond. Most people work in sessions of an hour or two, re-soaking a few strands each time.
Cost of materials, in general terms
For both methods, the materials for one seat are a modest outlay. You buy roughly a seat’s worth and little goes to waste.
- Pressed cane: one piece of webbing a little larger than the seat, a coil of spline and a small bottle of glue. The chisel and wedges are a one-time purchase you reuse on every chair.
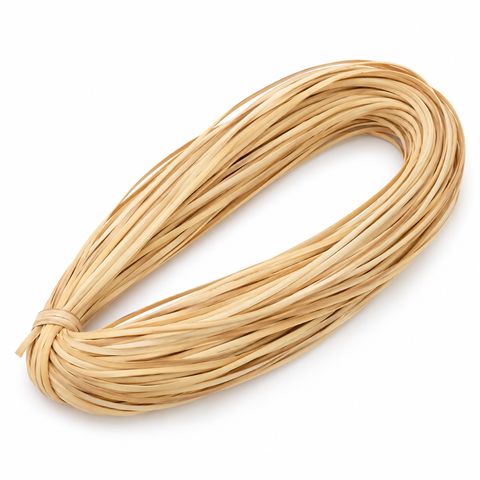
- Hand caning: one hank of strand cane (a 270 ft hank usually does one average seat), a strand of binder cane and a set of pegs. Large seats may need a second hank.
The bigger difference is labor. If you pay a shop, hand caning costs considerably more than a pressed seat because it takes many more hours, and many caners price hand work by the number of holes. Doing it yourself, the real cost of hand caning is time.
Can you switch methods?
Technically, yes. In practice, it is rarely a good idea.
- Groove to hand caning: you would have to drill a row of holes through a frame that was never designed for them.
- Holes to pressed cane: you would have to rout a groove into the frame, and the old holes would still show. On an antique this changes the chair for good.
Restore the chair the way it was built. The exception is a new frame you are making yourself, such as a stool, cabinet door or panel. There you can choose freely, and a groove cut with a straight router bit makes pressed cane the quicker option.
Which should you choose?
- Chair with a groove: cane webbing. Start with a chair seat caning kit, or buy open weave cane webbing and reed spline separately.
- Chair with holes: hand caning. The hand caning kit has strand cane, binder, pegs and an awl, or choose strand chair cane and binder cane on their own.
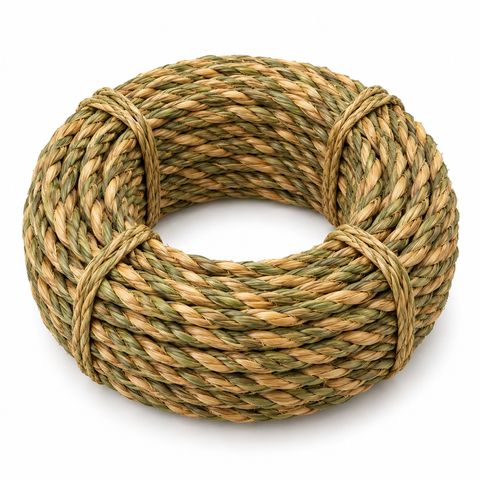
- Seat woven around rails: see seat weaving and our guide to weaving a fiber rush seat.
Not sure what you are looking at? Take a close photo of the seat edge and the underside, and compare it with the table at the top. The groove or the holes will tell you.
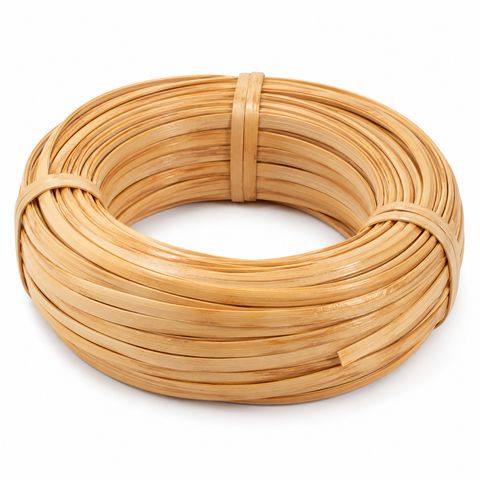
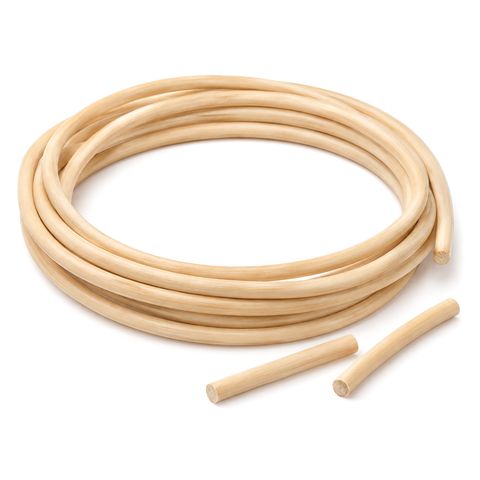 Reed Spline for Chair Caning
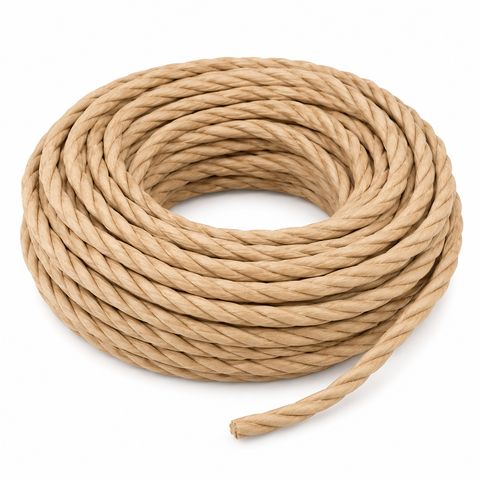 Laced Danish Cord
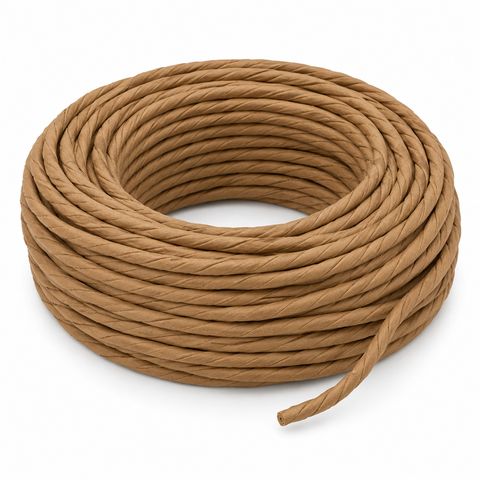 Fiber Rush
 Twisted Seagrass Cord